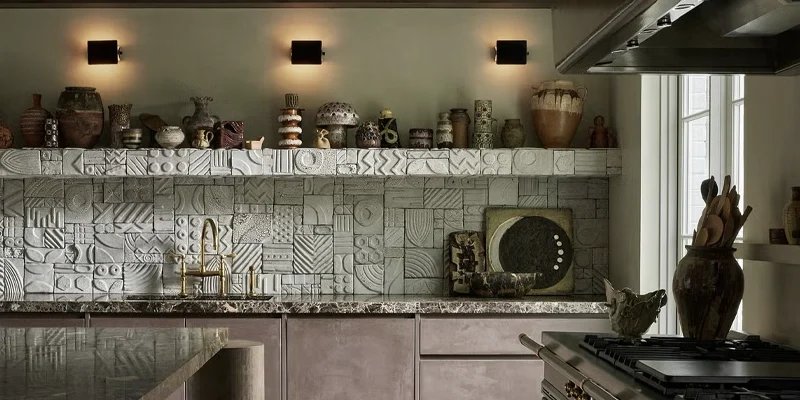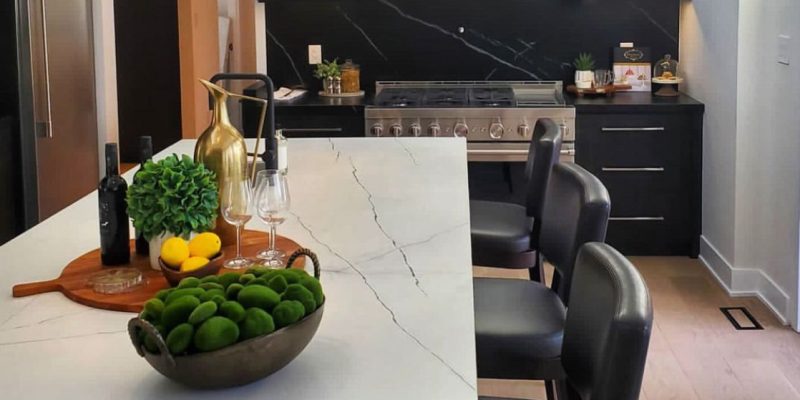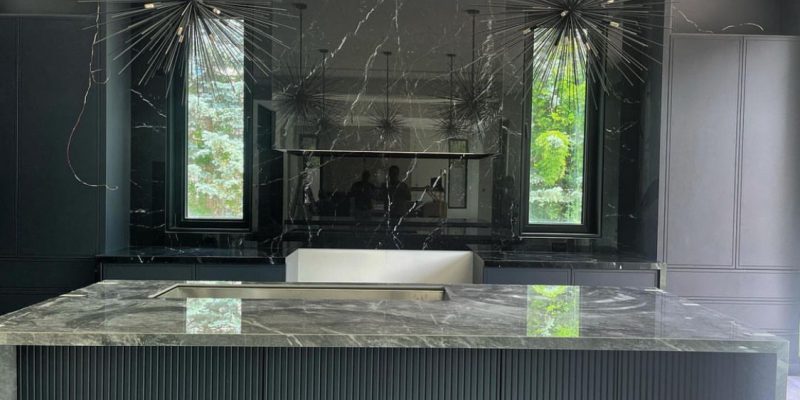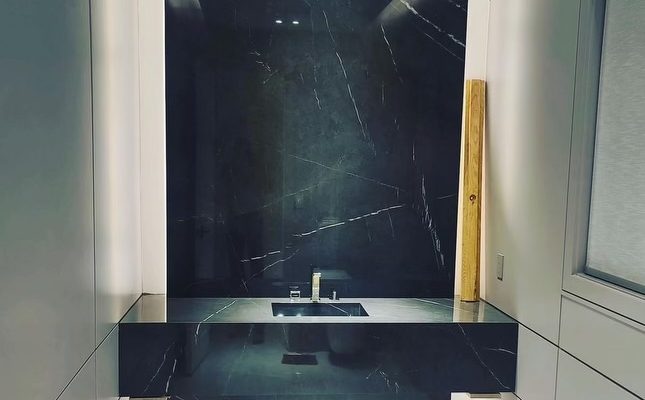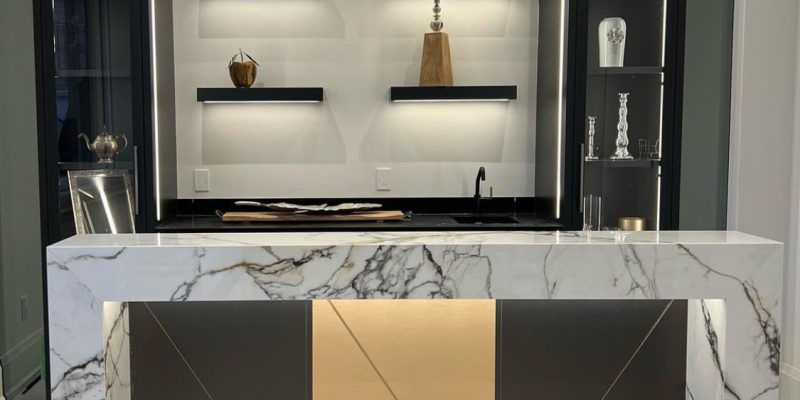
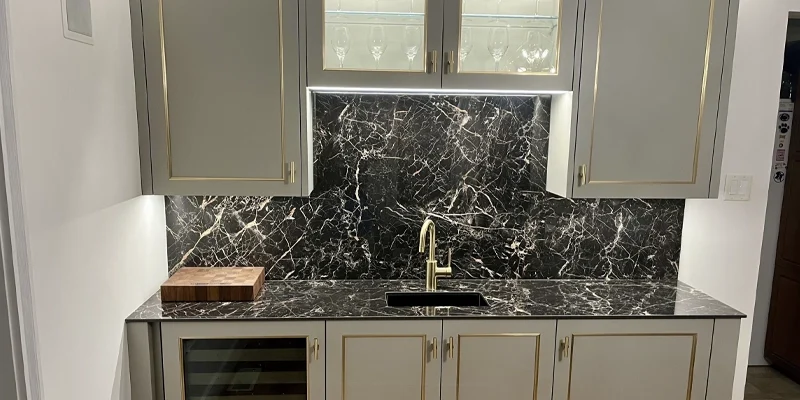
A full-height stone backsplash extends the backsplash material beyond a short wall strip and turns it into a significant part of the kitchen elevation. Depending on the layout, the slab may continue from the countertop to the upper cabinets, rise behind a range hood or cover an open wall to the ceiling.
The strongest full-height backsplash designs are planned as complete wall compositions. Slab dimensions, vein direction, seams, outlets, cabinetry, windows, shelves and range hoods all influence where the material should begin, end and divide into panels.
More stone does not automatically create a better design. A dramatic range-wall panel may be more effective than covering every kitchen wall, while a quiet counter-to-cabinet backsplash may provide enough continuity in a kitchen that already contains a strongly patterned island or countertop.
This guide explains how to choose the right backsplash height, define the feature wall, coordinate slab movement and plan visible transitions before fabrication begins.
Design Overview
A full-height backsplash should have a deliberate stopping point, a clear visual focal area and a slab layout that responds to cabinetry, appliances and wall openings. The objective is not to eliminate every joint, but to position panels and seams where they support the complete kitchen elevation.
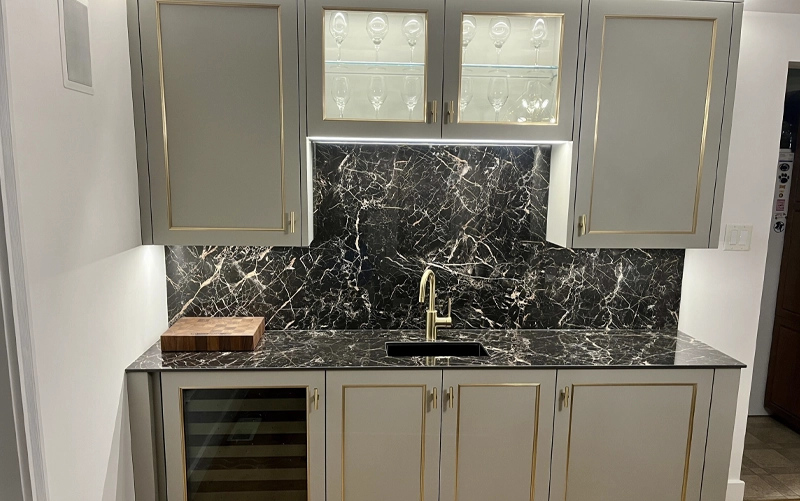
A full-height backsplash extends higher than a short countertop upstand and covers a substantial portion of the kitchen wall. It may be fabricated from natural stone, quartz or large-format porcelain, using one panel or several coordinated sections.
The term does not refer to one universal height. In different kitchens, a full-height backsplash may extend:
The appropriate height depends on the cabinetry layout, appliances, room proportions and the amount of material already visible on countertops and islands.
A counter-to-cabinet backsplash fills the wall between the countertop and upper cabinets. It creates a continuous protective surface across the main working area and establishes a clear horizontal relationship between the countertop and cabinetry.
This configuration can use matching countertop material or a complementary slab. Because the upper cabinets provide a natural stopping point, the design is generally easier to contain than a fully open wall.
A counter-to-ceiling backsplash covers an open wall without upper cabinetry. It can create a strong architectural feature, especially behind a range or along a wall with minimal interruptions.
The increased material area makes slab pattern, seam placement and visual weight more important. A dark or heavily veined surface that feels balanced between cabinets may become dominant when extended to the ceiling.
A range-wall backsplash concentrates the full-height treatment behind the primary cooking area. The stone may align with the width of the range, hood, surrounding cabinets or a broader architectural bay.
This approach provides a strong focal point without repeating the same slab across every perimeter wall. It is particularly useful when the kitchen contains a dramatic island or several other visually active finishes.
A full-height effect can also be created within a limited wall section. Stone may extend behind open shelves, a coffee station, sink wall or selected cabinet opening while the remaining backsplash uses another material.
The panel should align with a clear architectural boundary. Arbitrary vertical or horizontal edges can make the installation appear incomplete rather than intentionally limited.
A full-height backsplash is most effective when the selected wall has enough open area to display the material and a clear relationship with the kitchen’s main features.
The range wall is often the strongest location for a full-height slab because the hood, cabinetry and appliance already create a natural focal composition.
Before selecting the slab layout, review:
The dominant vein or printed movement should support the range and hood rather than being cut through unintentionally by openings.
A sink wall can benefit from a full-height surface when the backsplash surrounds a window or continues across an open section without upper cabinets.
Window sills, jambs and side returns should be considered part of the complete design. The backsplash may terminate at the window trim, wrap into the opening or form a fabricated sill, depending on the approved detail.
Smaller work zones can use full-height panels to define a separate function within the kitchen. A coffee station, beverage area or preparation wall may become a controlled secondary feature without competing with the main range wall.
Because these sections are usually narrower, material scale matters. A very broad vein may lose its effect when compressed into a small panel.
Open walls provide more freedom but fewer natural stopping points. The stone may extend to the ceiling, terminate beneath a shelf or align with another architectural element.
The termination should be established before material quantities and slab layouts are approved. Leaving the height unresolved until fabrication can lead to awkward edges or unnecessary material use.
Covering every backsplash wall with the same slab can create strong continuity, but it can also reduce visual hierarchy. In many kitchens, one full-height feature wall supported by quieter perimeter surfaces produces a more balanced result.
Use broader slab coverage when:
Limit the full-height treatment when the kitchen already contains a highly patterned island, detailed cabinetry, active flooring or several dominant wall features.
| Design Factor | Full-Height Slab Backsplash | Limited-Height Backsplash |
|---|---|---|
| Visual impact | Creates a stronger architectural surface | Provides a more restrained supporting element |
| Pattern visibility | Displays broader natural or printed movement | Shows a smaller section of the material pattern |
| Material use | Requires larger panels and more slab area | Uses less wall material |
| Wall interruptions | Outlets, windows and shelves have greater visual impact | Openings may affect a smaller material field |
| Layout complexity | Requires more detailed panel and seam planning | Generally easier to contain within cabinet lines |
| Best use | Feature walls and broad material continuity | Supporting surfaces and visually active kitchens |
Neither height is universally better. The correct choice depends on whether the backsplash should act as a major design feature or remain a quieter transition between the countertop and cabinetry.
Before extending stone across the wall, identify which kitchen surface should attract attention first. The full-height backsplash, countertop, island and cabinetry should not all compete with equal intensity.
A full-height range wall creates a clear focal point and allows the slab’s strongest pattern to be concentrated in one area. The surrounding countertops and perimeter walls can remain quieter to support the feature.
Using the same backsplash across the full perimeter can create a calm and cohesive kitchen when the selected slab has restrained movement and the cabinetry uses simple lines.
Continuity becomes less effective when the material contains dramatic movement that repeats across several walls without a clear visual hierarchy.
When a waterfall island or oversized countertop is already the primary feature, the backsplash may need to remain more controlled. A full-height wall can still work, but its colour and pattern should support rather than duplicate the island’s visual intensity.
Multiple dramatic slabs can make it difficult to understand where the eye should rest. Before approving a full-height backsplash, review the kitchen from its main entrances and adjacent living areas.
Consider reducing the backsplash coverage or selecting a quieter wall material when the room already includes:
A full-height backsplash and countertop should be planned as related surfaces, even when they do not use the same material. Their undertones, pattern scale and visual intensity affect how the complete kitchen composition is perceived.
Using the same surface for the countertop and backsplash can create direct material continuity. This approach may be developed from the same natural-stone slabs, coordinated engineered surfaces or matching porcelain panels.
The layout should be reviewed before fabrication because the horizontal countertop pieces and vertical wall panels compete for different areas of the slab. A matching product name does not guarantee that every visible vein will connect across the counter-to-wall joint.
Same-material designs work particularly well when:
The backsplash can complement the countertop without copying it. A quieter wall panel may repeat the countertop’s background colour or one of its secondary vein tones while using a different material or finish.
This approach can reduce visual weight and allow a dramatic countertop or island to remain the main focal point. It can also provide greater flexibility where the countertop material is not preferred for the proposed wall application.
Vein continuation should be treated as a planned composition rather than an automatic result of using the same slab. Countertop depth, backsplash height, appliance openings and slab dimensions influence how much continuity can realistically be achieved.
In some layouts, a selected vein can appear to rise from the countertop onto the wall. In others, rotating or repositioning the backsplash panel creates a stronger elevation even when the movement does not connect exactly at the joint.
Exact colour or vein matching is not required for a coordinated kitchen. Materials can relate through undertone, contrast, finish or pattern scale.
A subtle backsplash may be more effective when the countertop already contains pronounced movement. Conversely, a restrained countertop can support a stronger full-height wall without making the room feel visually crowded.
For a broader review of colour, undertones and material relationships, see how to match countertops and backsplashes.
The slab layout determines which areas of the material appear around the range, beneath cabinets and across open wall sections. It should be reviewed as a complete elevation before individual panels are cut.
Vertical movement can emphasize wall height and draw attention toward a range hood, shelf or ceiling. Horizontal movement can reinforce the length of a cabinet run and create a broader visual connection with the countertop.
The original direction of the slab does not always need to determine the final wall orientation. Rotation may improve the composition, but it can also affect material yield and the relationship with adjoining panels.
Bookmatching uses adjoining slab faces or coordinated printed panels to create mirrored movement across a central line. It is most effective on walls with enough uninterrupted space for both sides of the pattern to remain visible.
The centre line may align with:
Bookmatching is less effective when numerous outlets, shelves or appliance openings interrupt the mirrored areas.
The most distinctive area of a slab is often positioned behind the range, but the entire wall should be reviewed before selecting that section. A visually strong vein may compete with the hood or disappear behind the appliance if its location is not coordinated accurately.
The pattern should support the range composition rather than simply placing the most dramatic slab area at the centre of the wall.
Outlet, switch and fixture openings can interrupt major veins or focal details. Their positions should be shown on the wall elevation before the final slab layout is approved.
Not every opening can or should be relocated, but reviewing them early allows the panels to be positioned more intentionally.
A small material sample cannot show how the pattern will interact with the complete wall.
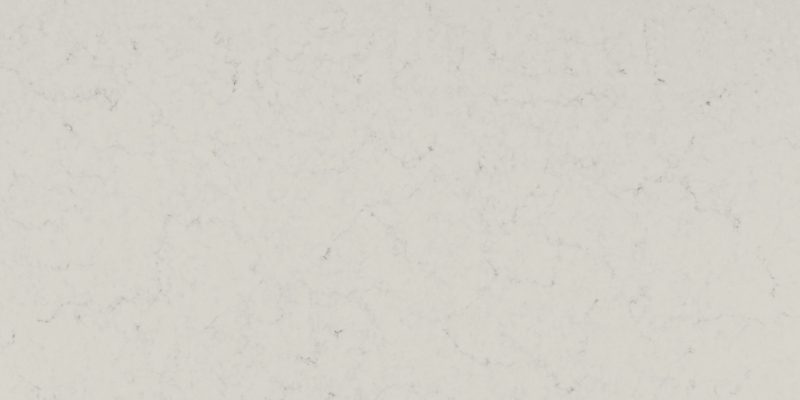
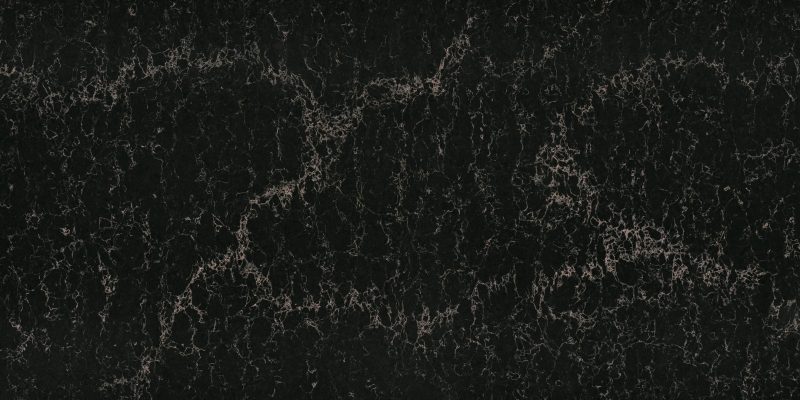
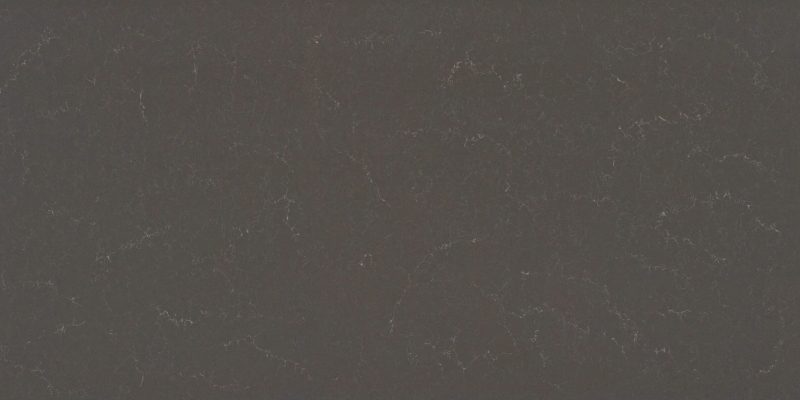
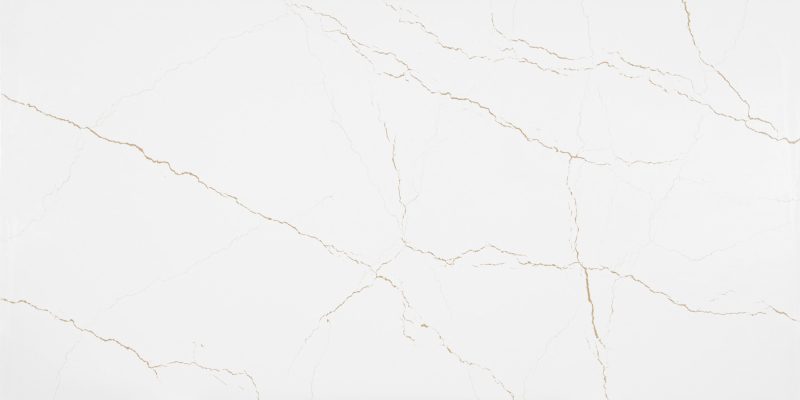



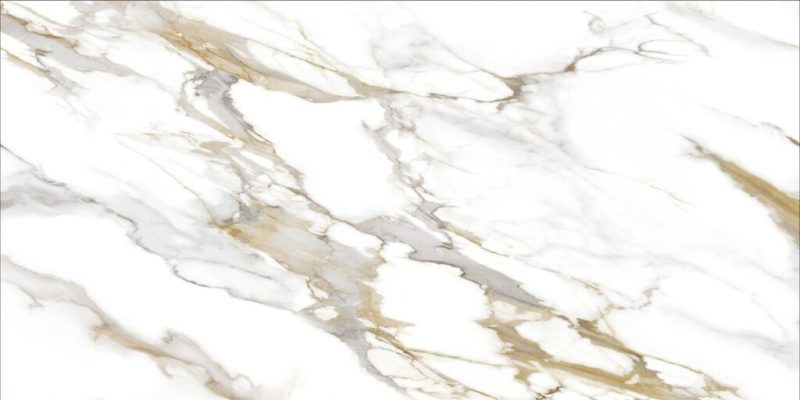
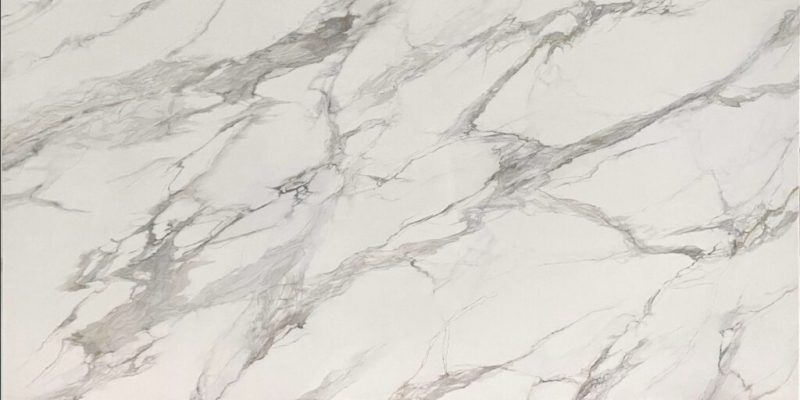
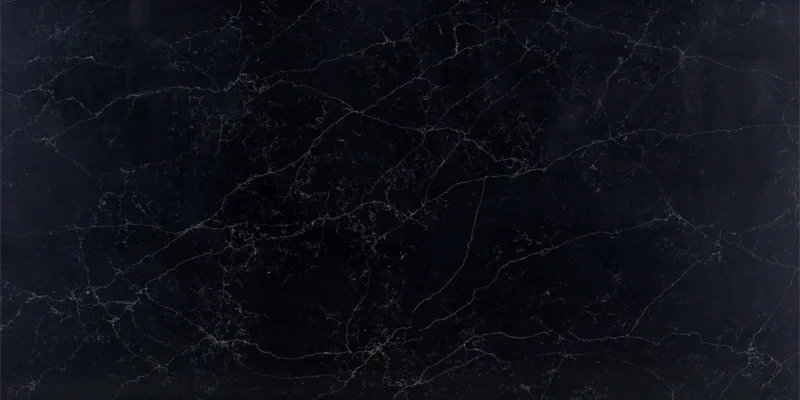

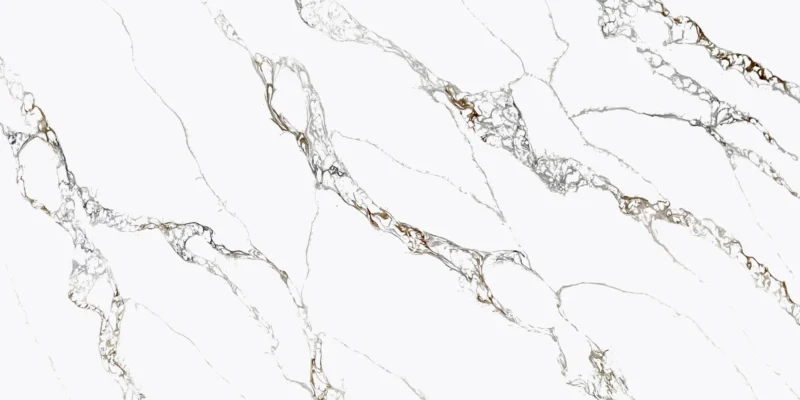
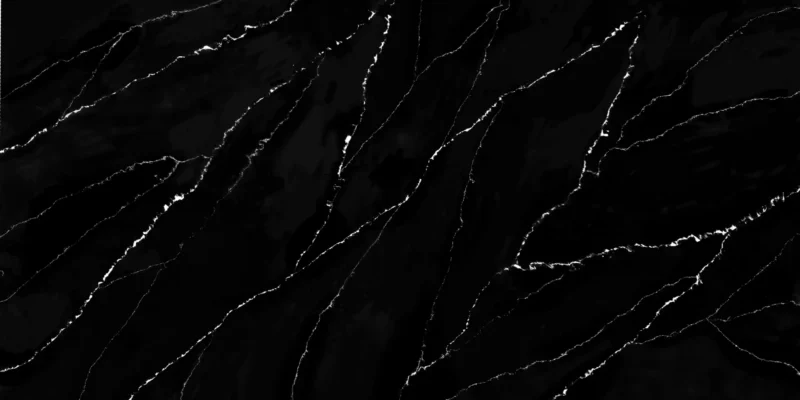
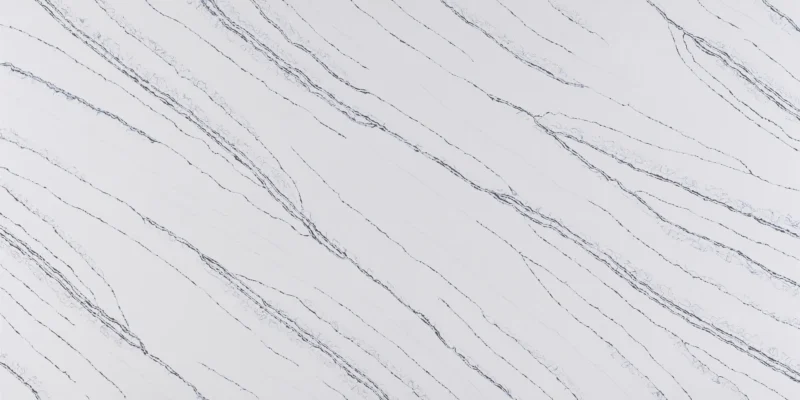


The strongest slab area should be assigned to the most visible section of the kitchen rather than distributed without reference to the room’s main viewing points.
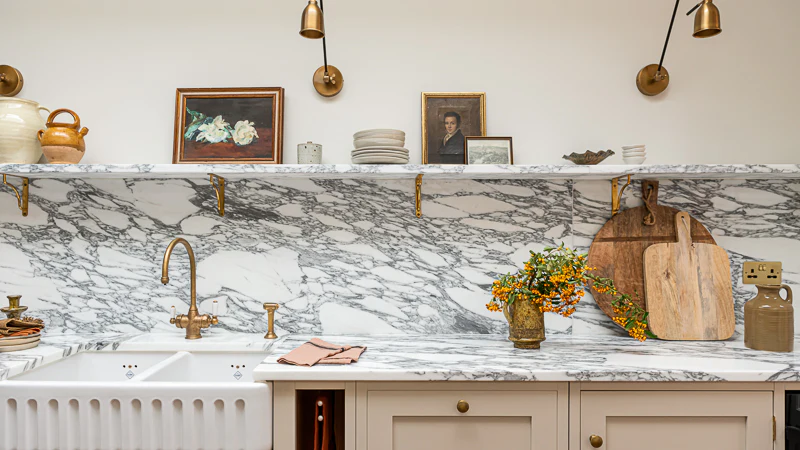
A full-height backsplash is not necessarily fabricated as one uninterrupted piece. Slab dimensions, wall width, access, openings and pattern direction may require several panels.
A single panel may be possible when the wall dimensions fit within the usable slab area and the panel can be transported and positioned safely. The absence of a central seam can support visual continuity, but one oversized panel is not automatically the best layout.
Panel seams are less visually disruptive when they align with existing architectural lines. Suitable locations may include:
A seam positioned through the centre of an otherwise uninterrupted pattern can become more noticeable than one integrated with the kitchen geometry.
Inside corners provide natural transitions between panels and may allow different walls to use independent pattern directions. Outside corners and exposed returns require more deliberate planning because both adjoining faces remain visible.
Panel divisions can also follow changes between the main range wall, perimeter backsplash and adjacent cabinetry.
Eliminating a seam may require a larger and less efficient slab section, create a panel that is difficult to access or force important movement into an unsuitable position.
A carefully placed joint can improve pattern balance and allow the wall to be divided into panels that relate more naturally to the cabinetry and appliances. Seam quantity should therefore be evaluated alongside visual placement, material yield and installation feasibility.
Where the backsplash terminates beneath upper cabinets, the top edge is visually contained. Cabinet depth, under-cabinet lighting and finished side panels should be reviewed so that the slab appears integrated with the millwork.
The slab may stop beneath the hood, continue behind it or extend around its sides depending on the hood type and wall design. The selected termination should align with the hood geometry rather than leaving narrow or uneven stone sections around it.
Floating shelves can be installed in front of a full-height backsplash, allowing the stone pattern to remain visible between and around the shelves. Shelf position should be finalized before panel layout because mounting points and horizontal lines affect the composition.
At the end of a cabinet run, the backsplash may align with the cabinet side, continue to an adjacent wall or terminate at another architectural boundary. The decision should account for how the edge is viewed from nearby rooms.
An exposed vertical termination should not be placed solely where the available slab ends. It should align with a cabinet, countertop edge, wall return or another intentional design line.
Where no natural boundary exists, reducing the backsplash to a focused feature area may produce a cleaner result than extending it across part of an open wall.
A full-height backsplash is most visually effective when wall interruptions are considered as part of the slab composition rather than treated as last-minute cutouts. Windows, outlets, switches, pot fillers and lighting components can divide the pattern and affect panel proportions.
Where a backsplash meets a window, the material may terminate at the trim, continue into the jambs or form a fabricated sill. The selected detail should respond to the window construction and the surrounding cabinetry.
Important design decisions include:
Narrow strips of strongly patterned material can appear disconnected from the main wall. Reviewing the window and backsplash as one elevation helps avoid awkward fragments.
Electrical outlets and switches create visible openings within the slab. A wall containing many devices may interrupt natural veining, bookmatching or a printed focal pattern.
Where the broader project allows it, devices may be coordinated with cabinet undersides, appliance zones or less visually important areas. Electrical decisions remain the responsibility of the appropriate trade, but their final positions should be confirmed before slab layout approval.
Pot fillers, wall controls and lighting connections should be included in the complete elevation. Their relationship with the range, hood and dominant slab movement can influence whether the wall feels balanced.
Fixtures should not be placed over an important vein or bookmatch centreline without reviewing the visual effect. In some designs, aligning smaller elements with cabinet or appliance lines can reduce visual clutter.
A full-height backsplash makes every wall interruption more noticeable. Before fabrication, review whether all planned outlets, shelves, controls and accessories are necessary in the visible feature area.
The objective is not to remove required functions, but to organize them so that the backsplash remains readable as one composed surface.
Material selection should consider the full wall area, slab or panel dimensions, pattern scale, finish and proposed application. A surface that looks restrained on a countertop sample may appear much more active when extended vertically.
Marble, granite, quartzite and soapstone can create distinctive full-height walls because each slab has individual movement and variation. The full slab should be reviewed before panel positions are approved.
Natural stone planning may involve:
Natural variation should be treated as part of the design rather than expected to match a small sample exactly.
Quartz can provide consistent colour and controlled printed movement, particularly when coordinated with a countertop from the same collection.
The printed pattern should be reviewed across the full wall because repeated or directional movement may become more noticeable over several panels. Suitability for the exact wall location, especially near cooking appliances, should follow the relevant product and appliance requirements.
Large-format porcelain offers broad printed patterns and relatively thin panel profiles. It can support restrained concrete-look walls, marble-inspired range features or coordinated countertop-and-backsplash compositions.
Panel dimensions, printed-face sequencing, exposed edges and available matching pieces should be confirmed for the selected collection. A porcelain image should not be assumed to continue automatically from one panel to the next without layout planning.
Available options can be reviewed through Teccorp’s large-format porcelain surfaces.
Polished surfaces reflect under-cabinet lighting, windows and surrounding finishes, while honed or matte surfaces generally create a softer appearance. Texture can add depth but may also increase the visual presence of a large wall.
The selected finish should be reviewed vertically in the kitchen’s actual lighting. A finish viewed flat under showroom lighting may appear different once installed across a tall wall.
A full-height backsplash can become visually overwhelming when the material area, pattern strength and other kitchen finishes compete for attention.
This risk is greater when the kitchen contains:
A wall that appears balanced from directly in front of the range may feel much more dominant when viewed from a dining or living area. Review the slab pattern from the kitchen entrance and adjacent rooms before approving broad wall coverage.
When the island is already the visual focal point, the backsplash can remain full height while using a quieter material. Alternatively, a dramatic backsplash may be paired with a more restrained countertop and island.
Strong movement does not need to cover the entire kitchen to create impact. Concentrating the most expressive slab behind the range or on one open wall can provide a clearer hierarchy.
Visual Balance: A full-height backsplash should strengthen the kitchen composition, not simply maximize the amount of visible slab. Material coverage, pattern intensity and the number of other feature surfaces should be evaluated together.
A full counter-to-ceiling wall is not the only way to introduce slab material into a kitchen. More limited applications can preserve the desired design character while controlling material use and visual weight.
A slab panel behind the range can establish a focal point while the remaining walls use a quieter finish. The panel may align with the range, hood or surrounding cabinet bay.
Extending stone from the countertop to the underside of upper cabinets provides continuous wall coverage without carrying the material to the ceiling.
A short upstand creates a direct connection with the countertop while leaving more of the wall available for paint, plaster or another backsplash material.
This option provides less wall protection than a complete backsplash and should be selected with the intended splash zones in mind.
A slab feature can be used behind the range while tile covers the perimeter walls. The two materials should share an undertone, colour or visual relationship so that the transition appears deliberate.
For a broader comparison of these systems, review stone slab backsplash vs tile.
Stone can terminate at a controlled height with a painted or plaster finish above it. The termination line should align with cabinetry, shelves or another clear architectural reference.
A full-height backsplash extends beyond a short countertop upstand and covers the wall to upper cabinets, a range hood, shelving, another architectural line or the ceiling.
The correct stopping point depends on the cabinetry layout and the role of the wall. Counter-to-cabinet coverage provides a contained composition, while counter-to-ceiling stone creates a stronger feature.
Yes, when the slab dimensions, panel requirements and pattern layout allow it. Exact vein continuity is not guaranteed and should be reviewed before fabrication.
It may. Wall width, slab dimensions, openings, access and pattern direction can require multiple panels. A carefully positioned seam can support the design better than an oversized or inefficient single panel.
It can be, particularly when the material has restrained movement and the cabinetry remains visually simple. Dark or highly patterned slabs may require more selective coverage in compact or low-light rooms.
Potentially, but suitability depends on the selected surface, exact appliance, wall assembly and manufacturer requirements. The application should be verified before material and panel layouts are finalized.
A successful full-height stone backsplash begins with a defined feature wall, confirmed architectural dimensions and a slab layout that accounts for the complete kitchen elevation. Height, pattern direction, seams and wall interruptions should be resolved together rather than treated as separate decisions.
For custom measurement, fabrication and installation of kitchen wall panels, explore Teccorp Stone’s kitchen stone backsplash services.