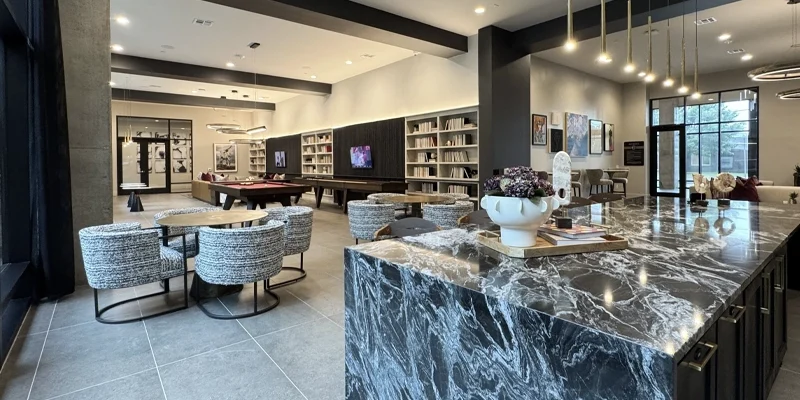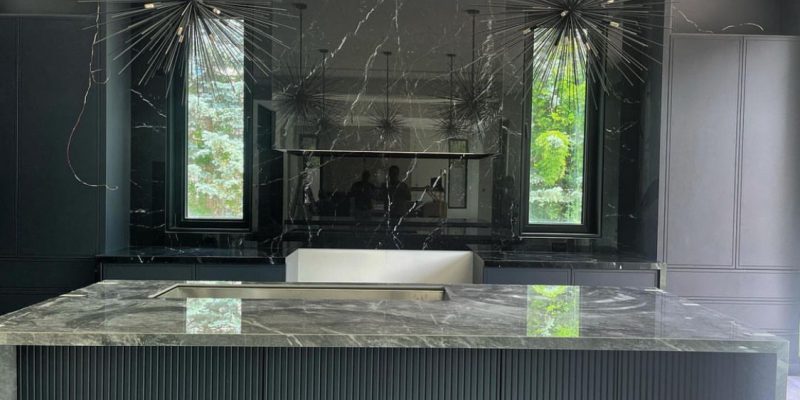
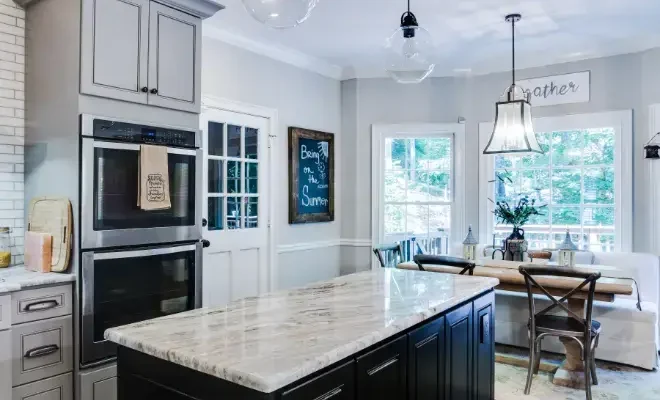
Large kitchen island countertops can create an uninterrupted work surface, a dramatic stone focal point and generous space for cooking, seating and entertaining. But once an island approaches the limits of a slab, its design can no longer be evaluated from the finished length and width alone.
The available slab format, usable cutting area, vein direction, edge construction, sink or cooktop cutouts, support system and delivery route can all determine whether the countertop should be fabricated as one piece or divided at a planned seam.
A one-piece island is not automatically the strongest, safest or best-looking solution. In some projects, a carefully positioned seam allows better pattern control, safer transportation and more practical installation without reducing the finished quality of the countertop.
Quick Answer
Do not design a large island from a published slab dimension alone. The finished countertop must fit within the slab’s usable cutting area after allowing for edge trimming, pattern placement, fabrication tolerances, cutouts and any pieces required for mitred edges or waterfall ends. The delivery route must also accommodate the fabricated piece safely.
In This Guide
There is no single dimension at which every countertop becomes a “large island.” From a fabrication perspective, an island becomes large when its dimensions, weight or configuration begin to affect slab yield, seam placement, handling or delivery.
An island may require large-format planning when:
A rectangular island without cutouts may be easier to fabricate and transport than a smaller island containing a large sink, cooktop or irregular seating extension. Shape and material distribution can therefore matter as much as total square footage.
Cabinet drawings may show the island base, but the countertop normally extends beyond it. Seating overhangs, finished end panels, waterfall joints and edge details all affect the final dimensions.
For example, a cabinet base that appears to fit within a jumbo slab may exceed the usable slab width after a seating overhang and the opposite finished edge are added. If a waterfall panel must follow the same vein sequence, additional slab area must also be reserved for that vertical component.
The goal should be the best complete installation—not simply avoiding every seam. A very large single piece may look attractive on a drawing but become difficult to fabricate, reinforce, transport or rotate into position.
A planned two-piece layout may offer:
A Seam Is Not Automatically a Defect
A well-positioned and properly fabricated seam is a normal part of many large countertop installations. Poor seam placement is a problem; the existence of a technically necessary seam is not.
Published slab dimensions describe the approximate size of the manufactured or supplied slab. They do not guarantee that a finished countertop of the same dimensions can be cut from it.
The fabricator may need to remove material from the perimeter, avoid a defect, reposition the template for better vein flow or reserve material for edge strips and waterfall panels. Saw kerfs and fabrication clearances also consume part of the slab.
The following ranges provide useful early planning references. They are not universal standards, and not every colour, finish or thickness is produced in every format.
| Material or Format | Representative Published Size | Important Planning Limitation |
|---|---|---|
| Standard-format quartz | Approximately 120 in. long and 55–56.5 in. wide | May be too narrow for a deep island with seating, even when the island length fits. |
| Jumbo-format quartz | Common examples range from approximately 126–132 in. long and 62.5–65.5 in. wide | Availability varies by brand, colour, market and thickness. |
| Large-format porcelain or ultracompact surfaces | Many examples are approximately 125–128 in. long and 56–64 in. wide | Thin surfaces may require different support, edge construction and transportation methods. |
| Granite, marble and quartzite slabs | No universal manufactured format | Dimensions, usable area, fissures and vein movement must be verified on the actual available slab. |
These dimensions are most useful during early design. Final approval must be based on the exact slabs available to the project and the fabricator’s measured usable area.
A slab should not be treated like a perfectly finished rectangular sheet. The outer perimeter may contain manufacturing variation, rough edges, handling damage or areas unsuitable for the finished countertop.
Usable size may be reduced by:
Therefore, a finished island measuring only slightly less than the published slab dimensions should not be promised as a one-piece countertop until the slab layout has been completed.
For many islands, slab width becomes the limiting dimension before slab length. A standard cabinet base, finished back panel, seating overhang and front edge can combine to create a countertop substantially deeper than a perimeter counter.
This is especially relevant for islands designed with comfortable counter-height seating. Increasing the seating overhang may improve knee space but move the finished countertop beyond the width of a standard slab.
The designer should not reduce seating comfort simply to fit an assumed slab format. Better options may include selecting an available jumbo slab, adjusting the cabinet depth, changing the edge construction or introducing a planned layout transition.

A small sample shows colour and finish, but it cannot communicate the full scale of a heavily veined design. Large islands expose more of the slab than most perimeter countertops, making vein direction, feature placement and pattern balance especially visible.
For natural stone and strongly patterned engineered surfaces, the slab should be reviewed as a complete image—or in person where appropriate—before the final cutting plan is approved.
The largest technically possible one-piece cut is not always the best visual layout. Shifting the island template to capture a central vein may reduce usable length, while reserving adjacent material for a waterfall end may require a second slab or a planned seam.
Before Approving a Seamless Island
Confirm the actual slab, usable cutting dimensions, pattern orientation, edge pieces, waterfall requirements, cutouts, fabricated weight and delivery route. A slab being large enough on paper resolves only one part of the decision.
The next sections explain when a one-piece countertop is practical, when a seam becomes the better solution and how seam placement should respond to cabinets, cutouts and the slab pattern.
A one-piece countertop can create a clean and uninterrupted appearance, particularly when the island uses a quiet pattern or a prominent vein intended to run across the entire surface. However, the absence of a seam should not be treated as the only measure of installation quality.
The decision must account for the actual slab, fabrication equipment, cutouts, weight, support, building access and the number of installers required to position the piece safely.
A seamless island may be achievable when:
“Fits comfortably” is important. A layout that uses nearly every inch of the slab may leave insufficient allowance for trimming, pattern adjustment or fabrication tolerances.
A planned seam may improve the project when the one-piece alternative would create a fragile, excessively heavy or difficult-to-deliver countertop. It can also allow the fabricator to orient the slab pattern more effectively instead of forcing every component into a single cutting arrangement.
A seam should be considered when:
| Planning Factor | One-Piece Countertop | Planned Seamed Countertop |
|---|---|---|
| Finished appearance | Provides an uninterrupted surface and pattern. | Requires careful colour, vein and joint alignment. |
| Slab requirements | Must fit within one slab’s actual usable area. | Can use multiple slabs or divide a difficult layout. |
| Handling | May be heavier and more difficult to turn or lift. | Smaller pieces may be safer to transport and position. |
| Cutouts | Large openings may create vulnerable rails during handling. | A strategic division may reduce handling stress around an opening. |
| Delivery access | Requires a route suitable for the complete fabricated piece. | Can make restricted entrances, elevators and turns more manageable. |
| Installation priority | Avoiding a joint while maintaining safe handling. | Placing and supporting the joint intentionally. |
One Piece Is a Project Result, Not a Starting Assumption
The fabricator should confirm a seamless layout only after reviewing the actual slab, cutting plan, cutouts, fabricated weight and delivery route. Designing around an unverified promise of “no seams” can create avoidable compromises later.
A good seam location responds to both structure and appearance. It should be adequately supported, accessible during installation and positioned where the pattern can be aligned as effectively as possible.
There is no universal location that works for every island. Cabinet divisions, sink bases, cooktops, seating overhangs and vein direction all influence the decision.
A countertop seam should be positioned over cabinetry, structural framing or another approved support. It should not float across an unsupported seating area or depend on adhesive alone to carry the countertop load.
Support beneath the joint must remain compatible with drawers, appliances, plumbing and any steel installed for the island overhang. Seam placement should therefore be coordinated with the cabinet plan before fabrication.
Seams should not create small stone tabs, narrow points or difficult-to-handle sections. Inside corners and areas close to cutouts require particular care because stresses can concentrate around them.
When a sink or cooktop is located on the island, the fabricator must decide whether the opening should remain within one piece, be partially completed at the site or be coordinated with a nearby seam. That decision depends on the material, opening size, remaining rails and handling plan.
A cabinet joint may appear to offer a convenient seam location, but the slab pattern above it may produce an obvious visual break. Conversely, the most attractive pattern transition may not have adequate support below it.
The final seam should be evaluated using both the cabinet layout and the full-slab image. This allows structural support and visual continuity to be resolved together.
A countertop seam is a constructed joint and should not be represented as completely invisible. Its final appearance depends on:
Low-movement patterns can sometimes make the colour transition subtle, while strong marble-style veins require more deliberate alignment. Honed, matte and highly reflective finishes may also reveal joints differently under overhead lighting.
Pattern layout is especially important on a large island because the countertop often becomes the most visible horizontal surface in the room.



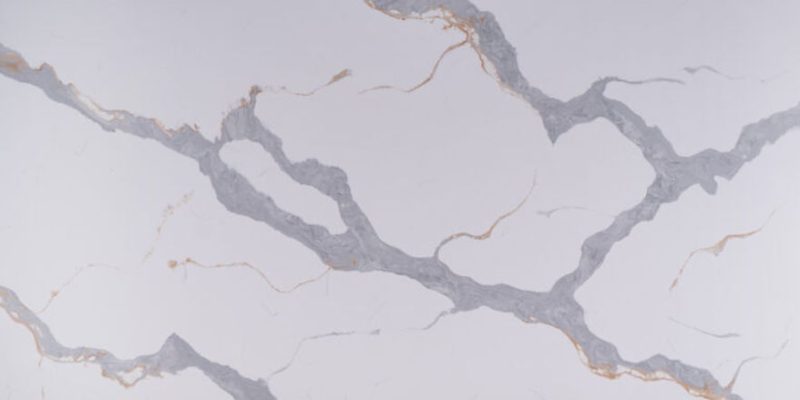







A prominent vein can be oriented along the length of the island to emphasize its scale or across the island to connect a waterfall end with the horizontal surface. The best direction depends on the slab and the viewpoints from which the island will be seen most often.
Before approving the layout, consider views from:
Natural stone slabs are individually formed, and many engineered patterns also vary across the slab. Even consecutively produced slabs may not create a perfect mirrored or continuous match.
When multiple slabs are required, compare their tone, pattern scale and direction before fabrication. The goal may be a continuous-looking vein, a balanced transition or an intentional change—not an unrealistic expectation that separate slabs will become visually identical.
Bookmatching uses adjacent slab faces arranged to create a mirrored pattern. Vein matching attempts to continue a feature from one fabricated component into another. These techniques are related but not interchangeable.
Not every slab is supplied or processed in a way that allows true bookmatching. Material availability, slab sequence, surface finish and the manufacturer’s pattern production must all be verified before the design is promised.
When an island includes waterfall panels, the slab layout should be developed as a complete composition. Material must be reserved for the vertical pieces, and the mitred joint should intersect the pattern intentionally.
A visually continuous waterfall may require rotating or shifting the horizontal island template. That change can affect whether the island still fits inside one slab and whether additional material is required.
For a detailed explanation of mitred construction and pattern flow, review the guide to waterfall kitchen island countertops.
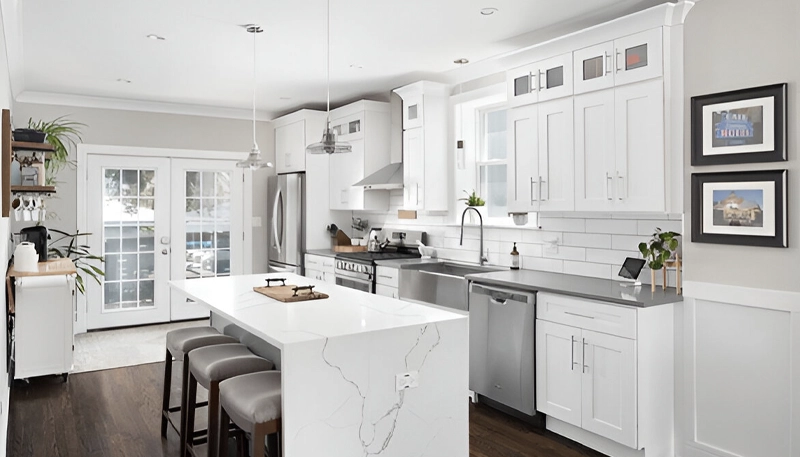
For heavily veined or visually directional materials, a digital layout can help show how the island, seams and waterfall components will be positioned within the selected slabs.
The approved layout should identify:
Digital approval improves communication, but it does not eliminate normal variation or convert a conceptual rendering into a perfect prediction of every finished joint. Fabrication allowances and the physical characteristics of the material still govern the final result.
Pattern Priority Can Change Slab Yield
Centred veins, matched seams and continuous waterfall patterns may require more material than a layout optimized only to minimize waste. Decide whether appearance, slab efficiency or reducing the number of seams is the highest priority before fabrication begins.
After the cutting layout is approved, the project still needs to address structural support, large cutouts and the physical route required to deliver the fabricated pieces into the kitchen.
A sink or cooktop opening changes more than the functionality of a large island. It removes material from the slab and creates narrower sections that must survive fabrication, transportation and installation.
The strips of countertop remaining in front of and behind a sink can become vulnerable handling points, particularly within a long and heavy island piece. Material type, thickness, sink dimensions, corner radius and the distance from the opening to the slab edge all influence the fabrication plan.
Depending on the material and installation conditions, the fabricator may reinforce the piece for transportation, leave part of the opening unfinished until the countertop reaches the site or divide the island at a more manageable location. These are technical decisions and should not be determined only by a preference for fewer seams.
Cooktop openings must follow the appliance manufacturer’s approved cutout dimensions and clearance requirements. The countertop plan should also account for:
A support bar or seam that conflicts with the cooktop body can create an installation problem even when the countertop dimensions are correct.
Large slabs are heavy, but their weight does not make them self-supporting. Cabinets must be complete, level, secured and suitable for the selected material. Seams, unsupported voids, seating extensions and appliance openings may require additional framing or engineered support.
For an island with a deep seating area, review the separate guide to kitchen island countertop overhangs and support before the cabinets are finalized.
Support should be installed in a way that does not create isolated high points beneath the slab. The countertop must rest on the approved support plane, with seam and cutout locations coordinated with the structure below.
Large Slab Does Not Mean Large Finished Piece
The maximum practical fabricated size may be smaller than the slab itself because cutouts, pattern placement, weight, support, fabrication equipment and safe handling all affect the final piece dimensions.
A countertop can fit the cabinets and still be impossible to deliver as one piece. Large fabricated surfaces are generally transported upright and require adequate space to move, turn and transition into their final horizontal position.
Delivery access should be checked before fabrication—not after the countertop arrives at the property.
The access review should begin at the unloading location and continue all the way to the island cabinets. Important conditions include:
The dimensions of an elevator cab alone are not enough. The countertop must pass through the elevator door, rotate into the cab and exit on the destination floor. Hallway corners immediately outside the elevator can also limit the usable piece size.
A large countertop normally travels on edge rather than flat. The access survey should therefore evaluate the piece in its intended transport orientation, including any projecting arms, curved sections or narrow areas around cutouts.
A cardboard or lightweight full-size template can help evaluate difficult turns. For more complex installations, the fabricator may divide the countertop digitally and test proposed piece sizes against the measured route.
Large quartz and stone slabs can weigh several hundred pounds before fabrication. The completed piece must be carried by trained personnel using suitable equipment and a controlled handling plan.
Weight influences:
Reducing a countertop to two properly planned pieces may be preferable to forcing an oversized piece through a restricted route.
Before delivery, the island cabinets should be permanently installed and the work area cleared. Loose furniture, stools and removable obstacles should be moved away from the route. Pendant lights positioned over the island may need to be protected or temporarily adjusted by the appropriate trade if they interfere with lifting.
Appliances, finished flooring, walls and adjacent cabinetry should be protected without narrowing the access route. Any door, railing or fixture proposed for temporary removal should be approved and coordinated before installation day.
Do Not Finalize Piece Size Before the Access Survey
When access is restricted, delivery conditions may determine the seam layout. Confirming the route early allows the seam to be positioned for structure and appearance instead of being added as an emergency fabrication change.
Complete these checks before approving fabrication:
There is no universal maximum. It depends on the usable size of the selected slab, pattern placement, cutouts, edge construction, fabrication limits, piece weight and delivery access. The actual slab and project conditions must be reviewed before a seamless island can be confirmed.
No. A jumbo slab provides more cutting area, but perimeter trimming, defects, vein placement, waterfall pieces and fabrication clearances reduce the usable area. Some large pieces may also be impractical to transport or install safely.
No. A properly positioned, supported and fabricated seam is a normal solution for many large islands. The objective is to place it deliberately and align the pattern as effectively as the material allows.
The seam should have reliable support, avoid fragile geometry and remain accessible during installation. Cabinet divisions may offer support, but the final position must also consider sink or cooktop openings and the slab pattern.
Only after the elevator door, cab, hallway turns, loading route and building requirements have been checked. The countertop must fit in its transport orientation and be capable of entering and leaving the elevator safely.
Sometimes. It depends on the island dimensions, slab format, pattern direction and number of waterfall panels. Matching the horizontal surface to vertical ends may use more material than a layout designed only to minimize waste.
Yes, particularly for strongly veined natural stone or engineered designs. The layout should show the island orientation, major features, cutouts, seams and waterfall components before cutting begins.
A successful large kitchen island begins with the complete project rather than a published slab dimension. The selected material must accommodate the layout, the seams must align with structural support and the fabricated pieces must reach the cabinets safely.
Reviewing slab size, vein direction, cutouts, support and access before fabrication makes it possible to choose between a one-piece countertop and a planned seam without sacrificing function or installation quality.
Planning a Large Kitchen Island?
Explore custom kitchen island countertop options for Toronto and the GTA, including slab planning, waterfall fabrication, seating overhangs and professional installation.