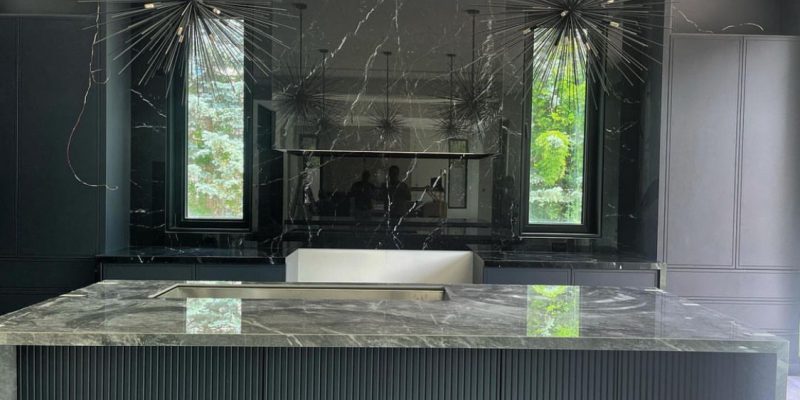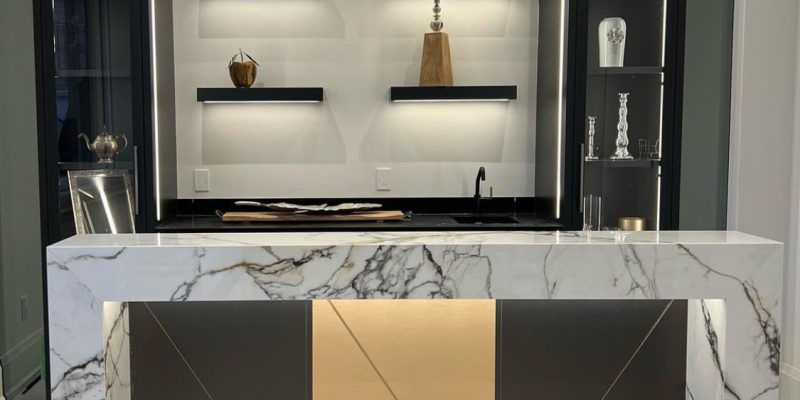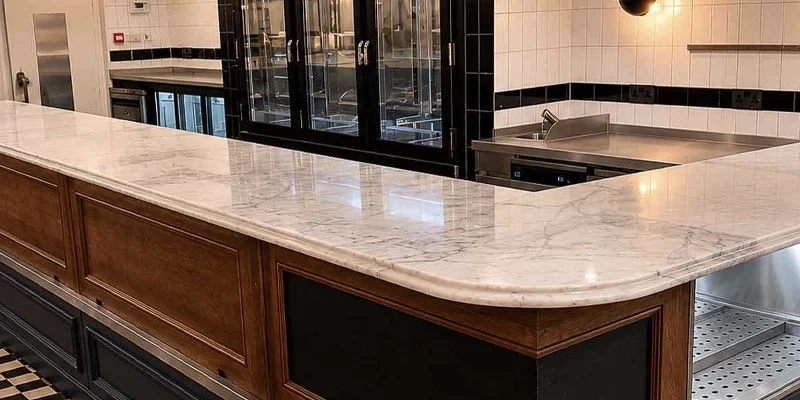

A successful countertop template appointment begins before the measurement technician arrives. Base cabinets need to be installed and stable, critical product decisions must be finalized, and the measuring area must accurately represent the conditions that will exist when the countertop is installed.
Templating is not an early design estimate. It is the field-measurement stage used to develop the dimensions and project details needed for fabrication. Moving a cabinet, replacing a sink or changing an overhang after this appointment can affect the template and may require another site visit.
This guide explains how homeowners, contractors and cabinet installers can prepare for countertop templating, what must be finalized in advance and which site conditions can prevent a measurement from being approved for fabrication.
Quick Answer
Before countertop templating, install, level and secure all base cabinets in their permanent positions. Complete finished panels and structural supports, confirm sink and appliance specifications, finalize overhangs and edge details, clear the work area and make sure someone authorized to approve project details is available. Do not modify the cabinets or measured layout after the appointment without consulting the fabricator.
In This Guide
A kitchen is template-ready when the technician can measure the permanent countertop support area and document the final project specifications without relying on estimated cabinet positions or undecided components.
The cabinets do not need to make the room look completely finished, but everything that determines the countertop’s dimensions, support and cutouts must be sufficiently complete and confirmed.
Preliminary measurements can be useful during budgeting, material selection and layout planning. They can estimate surface area and help identify whether an island, long countertop run or full-height backsplash may require additional slabs.
These early dimensions should not normally be used to cut the final countertop. Final templating records the installed conditions, including:
A drawing may show how the kitchen was intended to be constructed. The final template records how it has actually been installed.
If cabinets are moved, levelled again or fitted with additional panels after measurement, the original template may no longer represent the finished layout. Even a small change can affect a wall gap, seam, sink position, waterfall panel or appliance clearance.
Common causes of a postponed or invalid template include:
| Template-Ready | Not Yet Template-Ready |
|---|---|
| Base cabinets are installed in their permanent positions. | Cabinet boxes are loose, temporary or awaiting relocation. |
| Cabinets have been levelled and secured. | Cabinet levelling or floor adjustment is still planned. |
| Finished end panels and fillers affecting dimensions are installed. | Panels, fillers or waterfall supports are still missing. |
| Sink and cooktop models have been confirmed. | Cutout dimensions depend on products that have not been selected. |
| Overhang, edge and backsplash decisions are substantially complete. | Countertop depth or edge construction may still change. |

The countertop will be measured from and supported by the installed cabinet structure. For this reason, cabinets are one of the most important parts of template preparation.
All base cabinets supporting the countertop should be in their permanent locations. This includes cabinet runs against walls, island cabinets, peninsula sections, sink bases and any separate cabinet used beneath a countertop extension.
Cabinet boxes should be connected according to the cabinet installer’s requirements and should not shift when normal pressure is applied. Templating over temporary or movable cabinets can transfer an incorrect position into the fabricated countertop.
The tops of adjacent cabinet boxes should create a consistent support plane suitable for the specified countertop assembly. High or low cabinets can prevent the countertop from resting evenly and may create visible alignment problems at seams or surrounding finishes.
Levelling should be resolved by the cabinet installer before templating. The measurement appointment should not be treated as the stage for correcting a significant cabinet-installation problem.
Finished end panels, decorative panels, fillers and applied island backs can affect the final countertop dimensions. If the countertop is intended to project beyond one of these components, the technician needs its installed position—not an estimated future location.
Pay particular attention to:
Steel plates, brackets, corbels, legs or structural panels may affect the measurement and the countertop support plane. Their type and location should be approved before the final template.
Concealed supports that require channels in the cabinet should be coordinated early so they do not interfere with drawers, plumbing, electrical components or appliance openings.
The measurement technician can document the planned countertop geometry, but the cabinet structure must be capable of supporting the approved design. A large overhang should not be measured on the assumption that suitable support will be added later without confirming how it will be integrated.
Once final measurements have been approved, do not shift, shim, raise or replace a measured cabinet without notifying the countertop fabricator. The same rule applies to island panels, support walls and structural posts.
If a change is necessary, the fabricator should determine whether the original template can be updated from documented information or whether the site must be measured again.
Cabinet Readiness Rule
If a component changes the countertop’s position, finished size, support or cutout location, install or finalize it before the template appointment whenever possible.
After the cabinets are ready, the next step is confirming every product that interacts with the countertop—including sinks, cooktops, faucets, dispensers and specialty appliances.
Any product that passes through, sits beneath or aligns with the countertop can affect the final template. Product selections should therefore be confirmed before the measurement appointment, with model information and installation specifications available for review.
The sink determines the size, shape and position of one of the most important countertop cutouts. Describing a sink only as undermount, top-mount or farmhouse is not sufficient because models within the same category can have different rim dimensions, corner radii and mounting requirements.
Before templating, confirm:
Some fabricators require the physical sink to be available at the project site or fabrication shop. Others may accept an approved manufacturer template for specific models. Confirm this requirement in advance rather than assuming that a product-page dimension is sufficient.
A farmhouse or apron-front sink often interacts directly with the cabinet structure and the front edge of the countertop. Its height, projection and final position can influence the countertop cutout and the narrow stone sections surrounding it.
Depending on the project and fabricator’s procedure, the sink may need to be installed or securely positioned before templating. The cabinet should already be modified and reinforced for the selected model.
Do not substitute a different farmhouse sink after measurement simply because its advertised width appears similar. Differences in apron shape, rim construction or corner geometry may affect the fabricated opening.
Cooktops, downdrafts and other drop-in appliances require manufacturer-approved opening dimensions and clearances. The technician should have access to the exact model information so the cutout can be coordinated with the cabinet below.
Verify:
Changing the cooktop after templating can require a revised cutout and may not be possible once fabrication has started.
Not every appliance creates a countertop cutout, but its installed position may still determine the end of a countertop run, finished overhang or required clearance.
An appliance should not be assumed to provide structural support for the countertop unless the approved installation design specifically allows it.
Faucet holes must fit within the available countertop area behind or beside the sink. Large faucet bases, handles, window sills and full-height backsplashes can reduce the available clearance.
Identify every required opening, including:
The number, diameter and spacing of these holes should be reviewed before fabrication. Adding a hole later may not be practical if plumbing, cabinet rails, sink clips or backsplash components interfere below the surface.
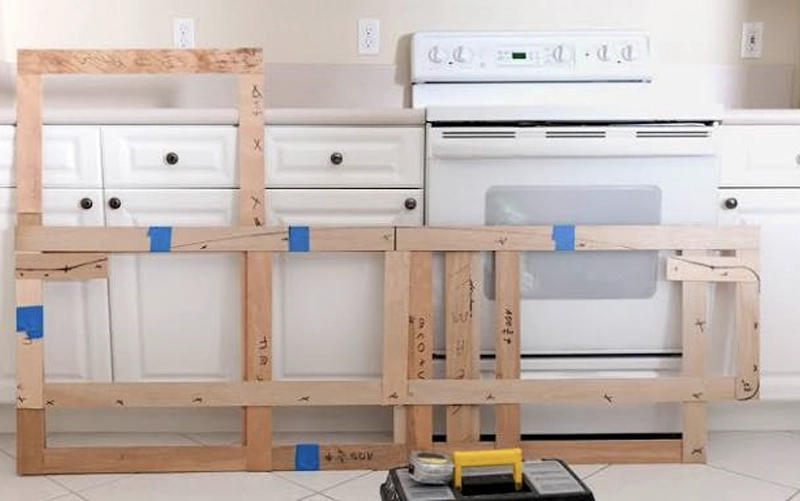
The template records more than the outline of the cabinets. It also reflects design decisions that affect the finished dimensions and how individual countertop pieces connect.
Standard front and exposed-end overhangs, island seating depth and decorative countertop projections should be confirmed before measurement. The technician needs to know where the finished edge will be positioned relative to cabinets, doors, panels and seating.
For island seating, comfort and structural support must be evaluated separately. A desired knee-space depth does not automatically establish an acceptable unsupported cantilever.











Edge construction can affect the overall countertop dimensions, cabinet clearance and pieces required from the slab. A simple eased edge behaves differently from a laminated or mitred edge designed to create a thicker appearance.
Before templating, establish:
A thick-looking mitred edge should be coordinated with drawers, appliance controls and finished side panels so it does not create an unexpected interference.
Final seam placement may depend on slab size, pattern, cutouts, delivery access and fabricator requirements. However, the template appointment is an appropriate time to identify cabinet divisions, support locations and project conditions that can influence the joint layout.
Discuss long countertop runs, L-shaped sections, large islands and restricted installation routes before fabrication. A seam should have suitable support and should not be positioned solely according to appearance.
Clarify whether the project includes:
Full-height stone backsplash and coordinated sill pieces may require additional field measurements after the countertop has been installed. The correct sequence depends on walls, upper cabinets, outlets and the selected fabrication method.
| Decision | Why It Affects Templating | What to Confirm |
|---|---|---|
| Overhang | Changes finished depth and support requirements. | Depth, seating positions and support system |
| Edge profile | Can affect clearances and slab-piece planning. | Profile, thickness and finished-edge locations |
| Seams | Must coordinate with cabinets, support and slab layout. | Acceptable zones and known site restrictions |
| Backsplash | May change measurement sequence and wall tolerances. | Material, height, outlets and installation sequence |
| Waterfall ends | Require finished floor and panel relationships to be recorded. | Location, joint style, floor condition and vein direction |
The technician needs a clear and safe path to the measurement area. Preparing the site helps avoid incomplete measurements and makes it easier to inspect cabinet, wall and appliance conditions.
Remove tools, construction materials, small appliances and loose items from the cabinets and surrounding floor. The technician may need access to cabinet edges, walls, openings and the inside of sink or appliance bases.
Keep children and pets away from the active measurement area. Digital equipment, stands and reference targets may need to remain stationary while the layout is captured.
Replacement projects require specific coordination. Some layouts can be assessed while existing countertops remain in place, while others require removal before the final template can be completed.
Do not remove an existing countertop—or assume it can remain—without confirming the fabricator’s procedure. Removal can expose wall conditions, cabinet damage or levelling issues that need to be resolved before measurement.
For condominiums and managed properties, confirm visitor access, parking or loading procedures and elevator requirements before the appointment. Measurement equipment is smaller than a fabricated countertop, but access information recorded at this stage can also help identify future delivery limitations.
Someone familiar with the project should be available to confirm sink position, overhangs, exposed edges, faucet holes and other details. If a contractor or designer will make these decisions, establish how they can be reached during the appointment.
Avoid Unapproved Last-Minute Changes
Templating day is the final opportunity to confirm many project details, but it is not the ideal time to redesign the cabinets, replace major products or change the island structure. Resolve important selections in advance and use the appointment to verify them against the installed conditions.
With cabinets, products and design decisions ready, the measurement appointment can focus on documenting the installed space and confirming the information required for fabrication.
The appointment normally begins with a review of the installed cabinets and the project details that affect the countertop. The technician may compare the site with cabinet drawings, appliance specifications or earlier measurements before capturing the final layout.
Before measuring, the technician may check that cabinets are stable, sufficiently level and positioned as expected. Finished panels, supports, wall conditions and relevant appliance openings are also reviewed.
If an unfinished condition could change the countertop dimensions or prevent reliable fabrication, the template may need to be postponed until that issue is corrected.
Depending on the project and equipment, countertop dimensions may be recorded using a digital laser, measuring probe, physical template or a combination of methods. The process can capture wall angles, cabinet outlines, exposed ends, cutouts and other reference points required for fabrication.
Digital equipment can improve the efficiency of collecting and transferring measurements, but it does not make site preparation or professional judgment unnecessary. The technician must still identify what is being measured, verify project decisions and account for the installed conditions.
The appointment may also include confirmation of:
Ask questions before these details are approved. A design change is easier to evaluate before the slab has entered fabrication.
After final measurement, the cabinets and specified products become the reference for fabrication. Changes should not be made without informing the countertop fabricator.
Avoid changing:
If a change becomes necessary, provide the revised information immediately. The fabricator can then determine whether the digital file can be safely updated or whether another site measurement is required.
After the appointment, the measurement data is reviewed and prepared for fabrication planning. Depending on the project, this may include confirming piece dimensions, cutouts, seam positions, slab layout, edge details and installation requirements.
Fabrication should begin only after the required project information has been approved. The exact sequence and schedule vary with material availability, project complexity, slab layout and production capacity.
Treat the Template as a Design Freeze
Once final measurements are approved, assume that every measured cabinet, panel, sink, appliance opening and overhang must remain unchanged unless the fabricator confirms otherwise.
Complete this final review before the appointment:
Preliminary measurements can be taken for planning, but final fabrication dimensions should normally be based on installed, level and secured cabinets.
Requirements vary. Some fabricators require the physical sink, while others may accept approved manufacturer information for certain models. Farmhouse sinks often require additional installation coordination before measurement.
It depends on the replacement method and the fabricator’s process. Some projects can be assessed with the existing surface in place, while others require removal before a final template can be completed.
Do not make the change without approval. Different models can require different cutouts, clearances and cabinet conditions, potentially requiring a revised template.
No. Seam requirements depend on slab size, countertop layout, cutouts, pattern, support, delivery access and fabrication considerations. Measurement helps plan seams; it does not remove every reason for using them.
The cabinet installer may need to correct the support plane before final measurement or installation can proceed. Significant levelling problems should not be transferred to the countertop.
Appointment length depends on the number of surfaces, layout complexity, cutouts, design decisions and site readiness. A simple vanity and a kitchen with multiple runs, islands and waterfall ends will not require the same process.
Countertop templating is most effective when the site accurately represents the finished cabinet and appliance layout. Installing and levelling cabinets, confirming products and resolving design decisions before the appointment gives the technician reliable conditions to document.
A clear preparation checklist also reduces last-minute decisions and helps the measurement, fabrication and installation stages remain coordinated.
Preparing for Countertop Measurement?
Review professional templating and measurement services for countertop projects across Toronto and the GTA.