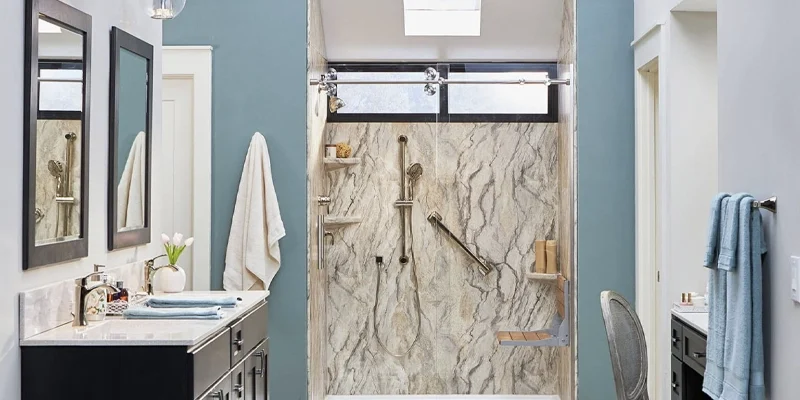
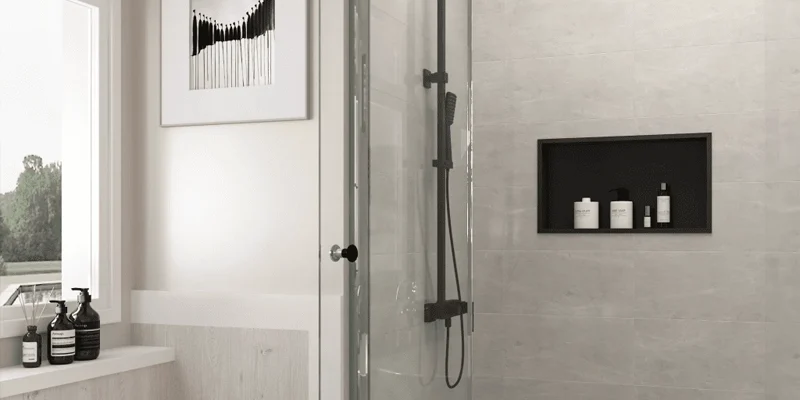
A quartz shower niche creates built-in storage without introducing a projecting caddy or a collection of small tiled edges into the shower. It may be fabricated as a complete quartz-lined opening, a solid bottom ledge, an internal shelf, or a combination of quartz pieces coordinated with the surrounding wall tile.
The finished appearance can be simple, but the detail requires early planning. Shelf height, usable depth, exposed edges, vein direction, joint locations and the underlying shower assembly all affect the result. Decisions made after the wall has already been framed and waterproofed may limit the available layout or require additional joints.
This guide explains how quartz shower niches are designed and fabricated, what should be confirmed before production, and how the stone fabricator’s work connects with the framing, waterproofing and tile stages of a bathroom project.
Quick answer: Quartz can provide a smooth, coordinated surface for shower niche ledges, shelves and wall linings. The best result depends on selecting a quartz product suitable for the intended interior wet-area application, supporting each piece correctly and coordinating the fabrication with the shower’s separate waterproofing system. Quartz is the visible finish; it is not a substitute for the membrane and properly prepared substrate behind it.
Table of Contents
A quartz shower niche is a recessed storage opening that uses fabricated quartz for one or more of its visible surfaces. Although the terms quartz niche, stone shower box and recessed shower shelf are sometimes used interchangeably, they can describe several different construction details.
Some niches are lined entirely with quartz. Others retain tile on the back and side walls but use a solid quartz piece for the bottom ledge or shelf. The appropriate option depends on the wall construction, desired appearance, available slab material and the number of exposed edges that must be finished.
In a fully lined niche, fabricated quartz pieces cover the back, sides, top and bottom of the recessed opening. This creates a consistent surface with fewer visible grout lines than a niche finished entirely with small tile pieces.
A full quartz lining can work well when the niche is intended to coordinate with a quartz vanity, shower jamb or another bathroom surface. It also allows the fabricator to control exposed edges and colour transitions more carefully.
However, a full lining is not automatically joint-free. Most custom niches require separate pieces to fit within the opening and allow practical installation. Joint placement, inside corners and installation tolerances should therefore be resolved before fabrication rather than concealed in a last-minute site decision.
A tiled niche can use quartz selectively at the locations that benefit most from a solid piece. Common examples include:
This mixed-material approach can reduce the amount of quartz required while keeping the most visible horizontal surfaces smooth and coordinated. It also allows a feature tile at the back of the niche to remain part of the overall shower design.

A prefabricated niche has a predetermined outside and inside size. It can simplify the wall preparation stage, but its shelf positions, proportions, colour and edge details may offer limited customization.
A custom-fabricated quartz niche is made around project-specific dimensions. It can be coordinated with the height of shampoo bottles, the tile module, the location of wall studs and the pattern of other quartz surfaces in the bathroom. Custom fabrication also makes it possible to use slab remnants when the available piece has the correct colour, thickness and usable dimensions.
The critical distinction is that the fabricated quartz and the recessed waterproof enclosure are not necessarily the same component. A waterproofed niche or prepared wall cavity may be completed first, after which quartz pieces are measured, fabricated and installed as the visible finish. The project team should confirm the sequence before final measurements are taken.
Quartz can be a practical option for a shower niche, particularly when a smooth appearance, consistent pattern and limited surface absorption are priorities. Engineered quartz is commonly used for interior bathroom surfaces, and certain manufacturers also identify their products for applications such as shower surrounds, wall cladding, recessed shelving or bathroom shelves.
That does not mean every quartz colour, finish, thickness or brand should automatically be specified for every shower detail. Product documentation, fabrication requirements and warranty conditions should be reviewed for the exact material being considered.
A suitable quartz product can offer several advantages inside a properly constructed shower niche:
These advantages relate to the quartz finish itself. Corners, perimeter joints, supports and transitions still require appropriate installation materials and workmanship.
Quartz should not be described as the waterproofing system for the shower wall. Water management takes place behind the visible finish through the properly prepared substrate, membrane, niche enclosure and sealed transitions to the surrounding shower assembly.
This distinction matters because a smooth quartz surface may still have joints around its perimeter and where separate pieces meet. If water reaches those joints, the assembly behind the quartz must already be designed to manage moisture safely.
The stone fabricator should coordinate with the contractor responsible for framing, wall preparation, waterproofing and tile installation. Responsibilities should be clear before fabrication so that quartz pieces are not used to conceal an incomplete or incompatible substrate.
Before approving a quartz slab for a shower niche, confirm:
Planning note: Choose the exact quartz product before finalizing the niche dimensions. Slab thickness, pattern scale, available remnant size and edge treatment can all affect the usable interior space and final appearance.
The shelf layout determines how useful a quartz shower niche will be after installation. A niche may look balanced in a drawing but still be inconvenient if tall bottles do not fit, the shelf is difficult to reach, or too much interior space is lost to thick finishes.
Before fixing the dimensions, identify what the niche needs to hold and who will use it. Measure the tallest containers normally kept in the shower and allow enough clearance to lift them in and out comfortably. The final dimensions must also account for the quartz thickness, setting material and finished wall surfaces—not just the framed opening.
A single open niche provides maximum uninterrupted height and is often the simplest layout to fabricate and clean. It works well when the household uses several tall bottles or prefers an uncluttered appearance.
This arrangement usually requires fewer quartz pieces and fewer internal joints than a divided niche. It can also preserve more usable width when the opening is narrow. However, products may become crowded if one shelf must hold both tall bottles and smaller items.
A single shelf layout is most effective when:
A taller niche can be divided with a quartz shelf to create separate storage zones. The lower opening may accommodate taller bottles, while the upper section holds soap, razors and smaller containers. The reverse arrangement may be more comfortable for some users, so the shelf position should reflect actual habits rather than visual symmetry alone.
For households with different users, a divided niche can improve organization without creating two separate wall openings. The shelf does not need to sit at the exact midpoint. An offset layout often provides better usable clearance and can align more naturally with the surrounding tile pattern.
Before approving a double niche, confirm:
The finished shelf depth must be sufficient to hold everyday containers securely, but it is usually limited by the wall cavity, substrate, waterproofing and quartz lining. Plumbing, electrical components and structural framing can reduce the available depth further.
For this reason, depth should be measured from the finished front edge to the finished back surface—not from the framing alone. A shelf that appears deep enough before the wall is completed may lose useful space after backer board, membrane, setting material and quartz are installed.
Support is equally important. A quartz shelf is a narrow fabricated component that may be exposed to impact from bottles, cleaning tools and daily use. Depending on its span and thickness, it may require secure bearing at both side walls, support along the back, or another detail approved by the fabricator and installer.
The shelf should never rely on a thin bead of visible sealant as its primary structural support. The support method must be planned before surrounding pieces are installed so that the finished assembly remains stable without bulky brackets or improvised site cuts.
Practical sizing method: Place the tallest products intended for the niche together, measure their height and width, and add enough handling clearance to remove them comfortably. Then have the contractor confirm whether that finished interior size can fit within the available wall structure.
Edge treatment affects both the appearance and daily usability of a quartz shower niche. Every visible front edge, shelf end and underside should be identified on the fabrication drawing. If an exposed edge is overlooked, the unfinished factory surface or cut line may remain visible after installation.
An eased edge has a small softened transition rather than a sharp square corner.

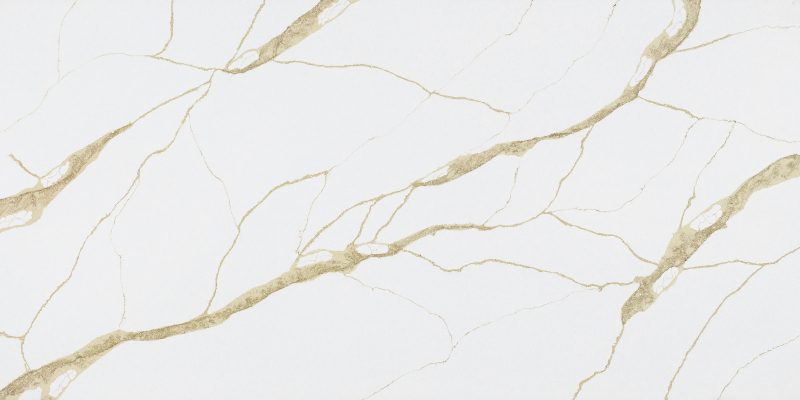

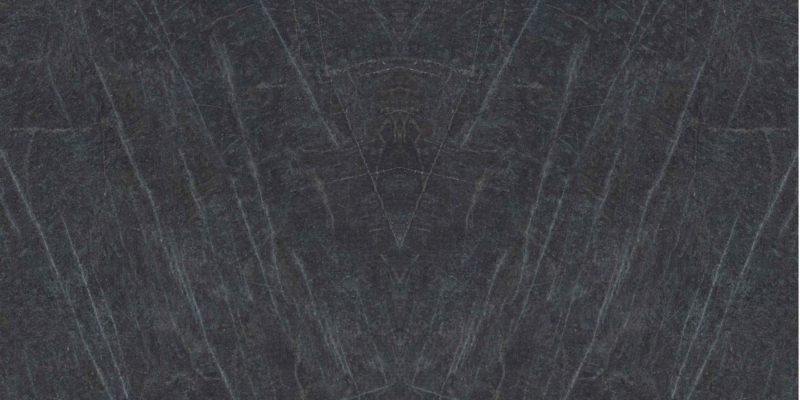
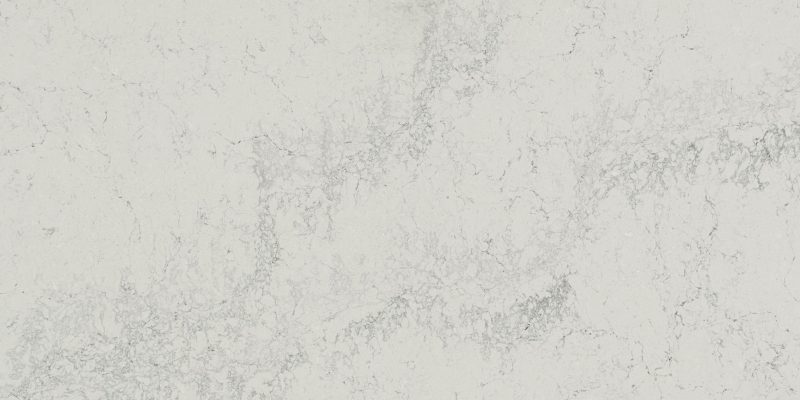






This is often the most practical treatment for quartz niche shelves because it does not add excessive visual thickness. The face, top and any visible underside should be reviewed together so the finished edge looks intentional from normal standing and seated viewing angles.
The degree of polish should coordinate with the face of the selected quartz. A polished face paired with an unfinished or differently textured edge can create a noticeable colour shift, particularly on darker or strongly patterned materials.
A mitred edge joins two quartz pieces at an angled corner to create the appearance of a thicker, continuous return. It can be useful when the design calls for a bold frame or when the niche edge is intended to match a mitred shower jamb, vanity panel or other architectural detail.
Mitred fabrication requires accurate cutting, pattern planning and careful assembly. The corner may reveal a bond line if the pieces are poorly matched, and a very sharp point can be more vulnerable to chipping during transportation or installation. A slight edge softening may be recommended after assembly, depending on the selected quartz and desired appearance.
A built-up edge can create similar visual weight by adding a separate quartz strip beneath the shelf or sill. This method may simplify some profiles, but the added seam and underside must be evaluated before fabrication. Neither method should be selected only to imitate thickness without considering available interior space.
A niche located close to an open shower entrance may expose more of its front and side edges than a niche placed on a recessed wall. The fabricator should know which surfaces will remain visible after tile, grout and sealant are completed.
Important details include:
Edge profiles should also avoid unnecessarily sharp projections in a confined shower. The objective is a refined appearance that remains comfortable and practical during daily use.

Quartz patterns range from nearly solid colours to large directional veins. In a small niche, even a short vein can strongly influence how the opening looks. Pattern placement should therefore be considered before pieces are cut from a slab or remnant.
A full quartz-lined niche can be fabricated with several pattern strategies:
Large veins may not align perfectly around every inside corner because separate pieces must be cut, finished and installed with practical tolerances. If vein continuity is important, the fabricator needs access to the selected slab and an approved cutting layout before production begins.
Using a remnant can reduce material waste, but the available piece must be large enough for all components and free from unsuitable defects. Colour compatibility alone is not sufficient if the remnant cannot provide the required shelf length, returns or pattern orientation.
Most custom quartz niches contain joints where the back, sides, top, sill and shelf meet. These joints should be placed where they can be installed accurately, finished neatly and maintained without creating awkward ledges.
Joint planning should consider:
Attempting to eliminate every visible joint can make fabrication, transportation or installation unnecessarily difficult. A small number of controlled, well-positioned joints generally produces a better result than forcing an oversized one-piece component into an opening that cannot accommodate it safely.
Pattern approval: For strongly veined quartz, review a labelled cutting layout or clear fabrication drawing before production. A small sample confirms colour and finish, but it cannot show how a large vein will appear across the complete niche.
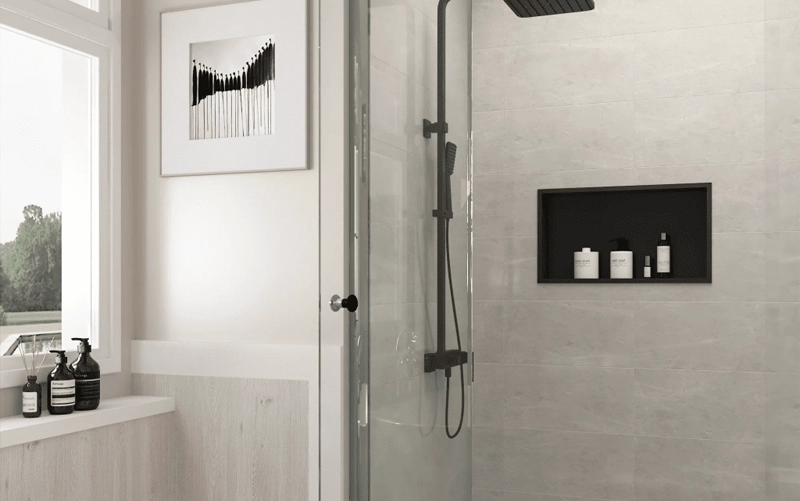
Successful fabrication begins before the quartz reaches the workshop. The fabricator needs reliable finished dimensions, a clear understanding of the visible surfaces and confirmation that the proposed pieces can be transported and installed in the correct sequence.
Producing quartz directly from rough framing dimensions can create problems because backer board, waterproofing, setting materials and adjacent finishes all reduce or alter the final opening. The contractor and fabricator should agree on the measurement stage and the allowances required for the selected construction method.
Before fabrication, the project team should confirm that the niche is square enough for the intended detail and that its final proportions accommodate the selected quartz thickness. Small variations in the opening can affect joint width, shelf fit and the visibility of edge returns.
The required information normally includes:
Templates may be physical or digital depending on the project and fabrication method. What matters is that the measurements represent the actual construction stage for which the quartz is being produced. Any wall correction, tile buildup or change in niche size after measurement should be reported before cutting begins.
Quartz niche components are usually cut and labelled as a coordinated set. The back, sill, sides, top and shelf may appear similar after cutting, so clear identification helps the installer preserve the intended pattern and sequence.
Fabrication should address more than outside dimensions. The shop must also account for:
A dry layout at the fabrication shop can reveal mismatched vein directions, reversed components or missing edge finishing before the pieces reach the site. For strongly patterned quartz, labelled photographs of the dry layout can also help the installation team reproduce the approved arrangement.
Site cutting should be minimized where possible. Shop fabrication offers better control over dimensions, edge quality and dust management. If field adjustments are unavoidable, they should be completed by qualified personnel using appropriate equipment and site controls.
The quartz fabricator does not replace the contractor responsible for the shower’s framing and waterproofing. The recessed enclosure must already be incorporated correctly into the surrounding shower assembly before the decorative quartz finish can perform as intended.
The project sequence should clarify:
Quartz should not be used to hide an uneven, damaged or incomplete substrate. Correcting the underlying opening before fabrication usually produces more consistent joints and avoids excessive adhesive buildup behind the finished pieces.
Horizontal surfaces should also be detailed so they do not create an unintended lip that traps standing water. The required drainage detail and any slope should follow the selected shower system, product instructions and project specification rather than a universal number applied to every niche.
Responsibility checkpoint: Before fabrication, document who is responsible for framing, waterproofing, field measurement, quartz installation, tile transitions and final flexible joints. Many niche problems begin when each trade assumes another contractor will complete one of these details.
Use the following checklist before approving a custom quartz shower niche for fabrication:
| Item to Confirm | Why It Matters | Confirm With |
|---|---|---|
| Quartz product and finish | The exact product must be suitable for the proposed interior wet-area application. | Supplier and fabricator |
| Finished niche dimensions | Quartz, setting materials and wall finishes reduce the clear interior space. | Contractor and fabricator |
| Bottle and storage requirements | The shelf layout should fit the products actually used in the shower. | Homeowner and designer |
| Shelf support | Long or narrow quartz shelves require a planned bearing and support detail. | Fabricator and installer |
| Visible edge schedule | Fronts, ends and undersides may all be visible after installation. | Designer and fabricator |
| Pattern direction | Large veins can look disconnected if components are cut without a layout. | Homeowner and fabricator |
| Waterproofing readiness | Quartz is a finish and cannot correct an incomplete waterproof assembly. | Waterproofing or tile contractor |
| Installation sequence | The back, returns, sill, shelf and tile must be installed in a workable order. | Project contractor and installers |
Quartz can be suitable for niche shelves, sills, returns and wall linings when the specific product is approved for the proposed interior wet-area application. Confirm the manufacturer’s requirements, finish limitations and fabrication instructions before ordering.
Engineered quartz generally does not require the penetrating sealer commonly used on porous natural stone. However, the perimeter and component joints still need appropriate installation materials. Not requiring stone sealer does not eliminate the need for waterproofing behind the niche.
Some small components may be fabricated as a single piece, but a complete custom niche usually contains multiple parts. Separate pieces are often necessary for accurate fabrication, transportation, fitting and installation inside the wall opening. A controlled joint layout is normally preferable to forcing an impractical one-piece assembly.
There is no universal thickness for every niche. The appropriate choice depends on the quartz product, shelf span, support method, desired edge appearance and available interior space. The fabricator should approve the proposed thickness and support detail before production.
Yes, a suitable remnant may work well for a niche if it provides enough usable material for all pieces and matches the intended colour, finish and pattern direction. It should still be inspected and approved before cutting. A remnant should not be selected solely because it is available.
The quartz surface itself may have low water absorption, but the complete niche should not be described as waterproof because of the quartz alone. Waterproofing depends on the continuous system behind the finish, including the prepared enclosure, membrane and transitions to the surrounding shower wall.
The surface should be detailed so it does not create an unintended lip or persistent water trap. The required drainage treatment and any specified slope depend on the selected shower system, niche construction and manufacturer instructions. Confirm the detail with the contractor responsible for waterproofing and installation.
A quartz sill or shelf can reduce the number of grout lines on key horizontal surfaces and provide a smooth area for routine wiping. Joints, corners and surrounding tile still require cleaning, and the approved cleaner should be compatible with the quartz finish and adjacent materials.
A successful quartz shower niche is planned as part of the complete shower rather than added after fabrication decisions have already been made. Confirm the storage layout, quartz product, edge treatment, support, waterproofing responsibilities and installation sequence before the pieces are cut.
Quartz niche components can also be coordinated with custom stone shower jambs to create consistent edges and material transitions throughout the enclosure.
Plan a Coordinated Stone Shower Detail
Explore custom stone shower boxes and available quartz surfaces for niche shelves, ledges, returns and full fabricated linings.