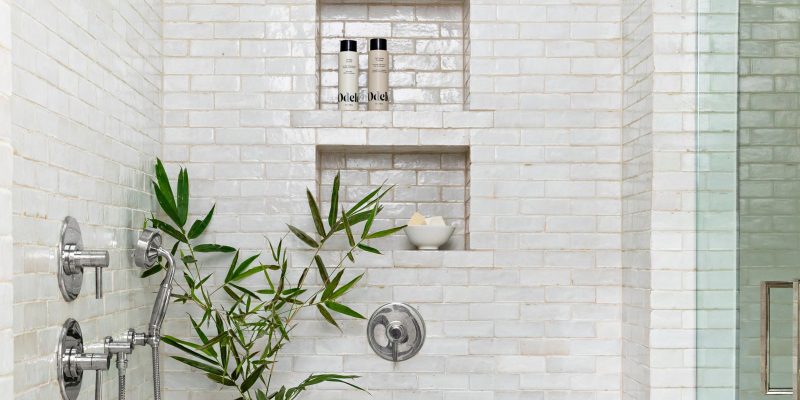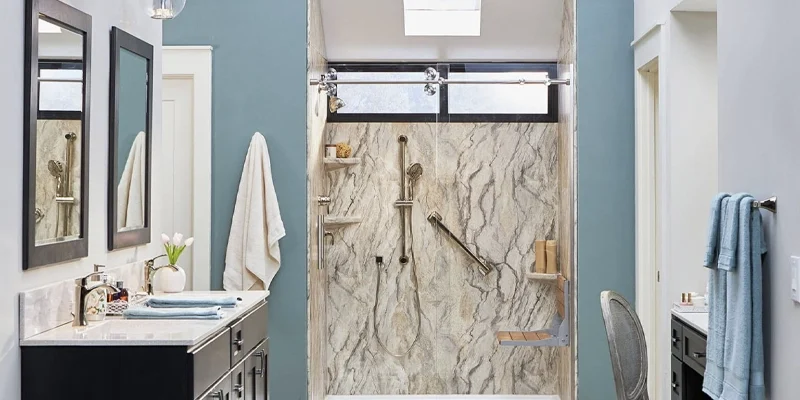
A stone shower niche should be sized around the products it must hold, positioned for the people who will use it and coordinated with the wall before framing, waterproofing and tile installation are finalized. Choosing a niche only because a standard model fits between two studs can result in limited bottle clearance, awkward reach or a shelf layout that conflicts with the surrounding tile.
The most successful niches balance four requirements: usable interior space, comfortable access, practical wall construction and visual alignment. The rough opening may look generous during framing, but backer board, waterproofing, setting materials and stone linings all reduce the finished width, height and depth.
This guide explains how to plan shower niche dimensions, compare vertical and horizontal layouts, select useful shelf positions and coordinate the niche with fixtures, stone details and tile lines.
Quick answer: There is no universal shower niche size or installation height. Start by measuring the bottles and accessories the niche must hold, then confirm the finished interior dimensions, user reach, tile layout and available wall structure. Stock niches can provide a useful starting point, but a custom stone niche should be planned around the completed shower—not rough framing alone.
Table of Contents
A niche should be designed from the inside out. Begin with the clear storage space required after all finishes are installed, then determine the rough opening and framing needed to produce it. Starting with the rough opening alone can leave less usable space than expected.
Collect the tallest and widest products normally kept in the shower. This may include shampoo and conditioner bottles, pump containers, body wash, razors, soap and smaller grooming accessories. Measure the containers themselves rather than relying on a generic “standard bottle” size.
The niche should provide enough clearance to lift bottles over the front edge and remove them without contacting the top of the opening. Pump bottles may require additional space above the dispenser, while wide containers may need more shelf depth than narrow shampoo bottles.
Ask the following questions before selecting the dimensions:
A niche designed tightly around one current bottle may become inconvenient when the household changes brands or buys larger containers. Allow useful handling space without making the opening unnecessarily oversized.
The framed cavity is not the same as the completed storage area. Depending on the construction method, the finished niche may include wall board, a prefabricated enclosure, waterproofing, setting materials, quartz or natural-stone pieces and perimeter joints.
Each layer affects the final dimensions. Stone shelves also divide the available height and occupy interior space. For example, a tall framed opening can produce two relatively short compartments after the top, bottom, shelf and setting tolerances are included.
The design documents should distinguish among:
Homeowners should approve the finished interior size. The contractor and fabricator can then determine the rough dimensions and allowances needed to achieve it.
Measurement rule: Never describe the niche only as “the space between the studs.” Record the intended finished width, height and depth so every trade is working toward the same usable opening.
A visually centred niche is not always comfortable to use. Its height should reflect the users, the shower floor, any built-in seat and whether products need to be reached while standing or seated.
For a shared family shower, placing all storage at one high level may be inconvenient for shorter users. A divided niche, two staggered compartments or a lower secondary shelf may provide better access without lowering the entire feature.
Accessibility should be planned for the actual user and project requirements rather than copied from a generic residential dimension. If the bathroom is intended for seated use, aging in place or a barrier-free design, coordinate the niche with the shower seat, controls, hand shower and required grab-bar clearances. A qualified designer should confirm applicable accessibility and building requirements.
Stock shower systems demonstrate the variety of useful niche proportions. Compact square openings, tall niches and combination models are all available because different showers require different storage layouts. These nominal product sizes can help with early planning, but they should not be treated as mandatory finished dimensions for a custom stone niche.
| Niche Format | Example Planning Size | Best Suited For | Important Limitation |
|---|---|---|---|
| Compact soap niche | Around 8 × 8 inches nominal | Soap, razors and small accessories | Usually too limited for several full-size bottles |
| Square niche | Around 12 × 12 inches nominal | Compact everyday storage | Bottle height and finished clear space must be checked |
| Tall niche | Around 12 × 20 or 12 × 28 inches nominal | One tall compartment or divided storage | Shelf thickness and position affect both clear openings |
| Combination niche | Two connected or divided compartments | Separating bottles from smaller products | Must be coordinated with framing and tile lines |
| Custom horizontal niche | Project-specific | Wider storage and architectural emphasis | May require planned framing and additional support |
Note: The dimensions above are planning examples based on commonly available niche formats. They are not universal finished dimensions, code requirements or guaranteed clear openings.
A compact niche works well for soap and small accessories or as a secondary storage location. A square niche offers more flexibility but should still be tested against the tallest bottle and the selected stone thickness.
These formats are generally easier to coordinate with common stud spacing and tile modules than a wide horizontal opening. They may also require fewer changes to the wall structure, although framing and services must still be verified before the opening is created.
A vertical niche uses wall height efficiently and can remain relatively narrow. It may be left open for tall products or divided with one or more stone shelves. An offset shelf often provides better functionality than placing the shelf exactly in the centre.
When the niche includes two compartments, assign a purpose to each one before fixing the shelf position. One opening may be designed for tall bottles and the other for soap, razors or smaller containers. Equal openings are visually balanced but are not always the most useful.
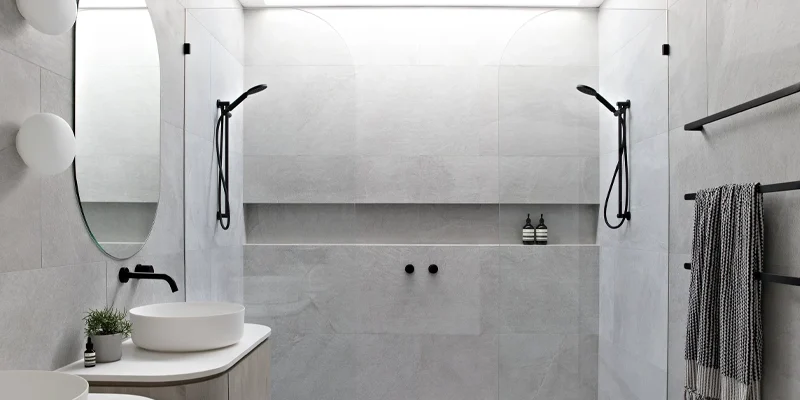
A horizontal niche creates a strong architectural line and can provide storage for multiple users. It may align with a feature tile band, wall slab vein or another horizontal bathroom element.
Its width should not be selected without reviewing the wall structure. Extending an opening across multiple studs may require properly designed framing and support. Studs, plumbing or other concealed components should never be removed merely to achieve a desired niche width without approval from the responsible contractor or professional.
One large niche can consolidate storage and create a cleaner visual feature. Multiple smaller niches can separate products by user or function and may fit the available wall structure more easily.
The choice should consider:
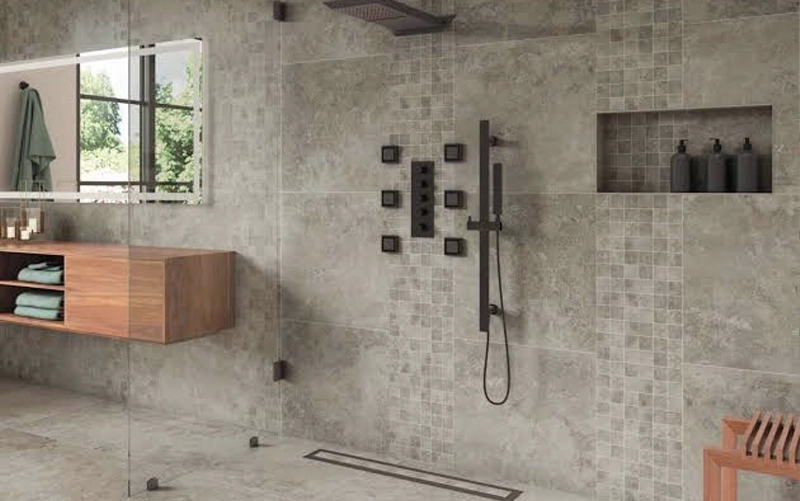
The best niche location is not determined by appearance alone. The selected wall must provide workable framing, sufficient cavity depth, comfortable access and a clear relationship with plumbing fixtures, glass hardware and the shower entrance.
Placement should be reviewed before the wall is closed. Moving a niche after waterproofing or tile layout has begun can create unnecessary patching, additional joints and compromises in the finished design.
Each shower wall creates different advantages and constraints. The correct choice depends on the enclosure layout rather than a universal rule.
Control wall: Locating the niche near the shower controls can keep products within easy reach, but this wall often contains valves, supply lines and other plumbing components. The niche must not interfere with required access, pipe routing or fixture installation.
Side wall: A side-wall niche may receive less direct spray and can be easy to reach from the centre of the shower. Its position should be checked against glass panels, door movement, towel bars, grab bars and any built-in bench.
Back wall: A niche on the back wall can become a strong visual feature, particularly in a walk-in shower. It may align well with a feature tile or slab pattern, but it can also sit directly in the main sightline and show every alignment error. Reach distance and spray direction should be tested before finalizing the location.
| Possible Location | Potential Advantage | What Must Be Checked |
|---|---|---|
| Control wall | Products may remain close to the user and fixtures | Valves, pipes, service access and fixture clearances |
| Side wall | Can provide comfortable access with less visual emphasis | Glass, door swing, bench and grab-bar locations |
| Back wall | Creates a centred architectural feature | Reach, direct spray and precise tile or slab alignment |
| Bench-adjacent wall | Can support seated use and organized storage | Seated reach, head clearance and grab-bar requirements |
A niche requires space within or in front of the wall. Before selecting its location, the contractor should identify structural framing, plumbing lines, electrical components, ventilation paths and other concealed services.
A wide horizontal niche may cross more than one stud bay. Creating that opening can require properly designed headers, blocking or other framing changes. Structural members should not be removed or altered simply to make the niche match a preferred visual width.
Plumbing walls require similar caution. A niche must not reduce required clearances around valves, kink supply lines or block future service access. Locating the niche slightly away from the control centre may preserve both storage and plumbing integrity.
Exterior walls deserve additional review in Ontario’s climate. A recessed niche can reduce the space available for insulation and affect the continuity of air, vapour and thermal-control layers. The project team should confirm whether the proposed wall can accommodate the niche without creating an unsuitable cold area or moisture risk. If the assembly cannot be detailed correctly, an interior wall or a purpose-built furred wall may be a better choice.
A waterproofed niche is designed for a wet environment, but placement still affects daily maintenance.











The niche should also remain clear of normal body movement. Avoid positions where a projecting sill, shelf edge or stored bottle can interfere with entering the shower, turning, using a bench or operating the controls.
Before approving the location, check:
Placement test: Mark the proposed niche outline on the unfinished wall, then test it from the expected standing and seated positions. This simple mock-up can reveal uncomfortable reach, conflicts with fixtures or poor visual alignment before the wall assembly is completed.
Stone shelves turn a tall niche into organized storage, but every shelf reduces the clear height of the compartments around it. Shelf position should be based on product size and user habits before being adjusted for symmetry or tile alignment.
One internal shelf creates two storage zones without making the niche visually busy. It is usually sufficient for separating full-size bottles from soap, razors and smaller items.
The shelf does not need to divide the niche equally. An offset shelf often performs better because it can provide one tall compartment and one shorter compartment. When the shelf aligns naturally with a grout line or another bathroom feature, function and visual order can be achieved together.
A single shelf may be positioned closer to the top when the lower section needs to hold tall pump bottles. Alternatively, a lower shelf can place smaller frequently used products within easier reach. The decision should reflect what will actually be stored.
Two shelves may be useful in a tall family niche, but additional levels are not automatically better. Each shelf adds thickness, joints and surfaces that require cleaning. Several short compartments can also make it difficult to change product sizes later.
A double-shelf layout is most useful when:
For a couple or family, offset shelves can identify separate storage areas without creating multiple wall openings. The layout should remain understandable and visually controlled rather than resembling a collection of arbitrary compartments.
A stone shelf must be supported as a structural component, not held in place only by a visible perimeter bead. Depending on the shelf material, thickness and span, it may require bearing at both sides, support along the back or another detail approved by the fabricator and installer.
Very wide shelves require additional consideration because stone is strong under compression but narrow pieces can be vulnerable to impact or concentrated loads. The shelf should not be used as a grab point, step or seat unless it has been specifically designed for that purpose.
Usable depth must be measured after all finishes are included. A deeper shelf may hold larger containers more securely, but the available depth is constrained by the wall assembly. Increasing depth by recessing farther into a plumbing or exterior wall may create more serious construction problems than the additional storage is worth.
The front edge also affects usable space. A thick built-up profile or projecting sill can make the niche look substantial but may reduce access or interfere with movement. A restrained polished edge is often more practical in a compact shower.
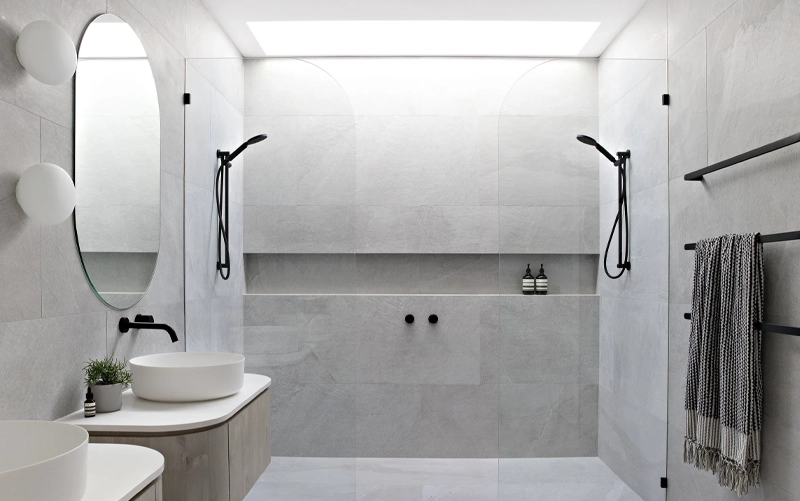
Shelf-design checkpoint: Approve the finished clear height above and below every shelf—not only the overall niche height. Also identify every exposed shelf edge and underside that requires finishing before fabrication.
A niche can be correctly sized and still look misplaced if it conflicts with grout lines, slab veining or nearby fixtures. Alignment should be reviewed through a wall elevation before framing dimensions and shelf positions are finalized.
When possible, the top, bottom or shelf can align with major grout lines. This reduces awkward slivers of tile and gives the niche a more intentional relationship with the shower wall.
Perfect alignment on every side is not always practical. Tile dimensions are nominal, while actual tile size, grout-joint width and wall dimensions determine the installed module. The final layout should therefore be based on the tiles selected for the project—not catalogue dimensions alone.
If storage requirements and grout-line alignment conflict, prioritize usable interior space and resolve the surrounding cuts carefully. A niche that looks aligned but cannot hold the intended products has not met its primary function.
When the niche uses quartz, porcelain or natural stone with directional veining, decide whether the pattern should continue through the opening or create a deliberate contrast. The back panel may become a feature, while shelves and returns use quieter sections of the slab.
Exact vein continuity requires access to the selected slab and a planned cutting layout. A small sample can confirm colour and finish but cannot guarantee how a large vein will pass across the back, sides and shelf.
The niche may align with the centreline of the shower wall, the control column, a glass panel or the edges of custom stone shower jambs. The most appropriate reference depends on which elements are visible together.
Avoid forcing several competing alignments into one wall. Choose a clear visual hierarchy—for example, centring the niche on a feature panel while aligning the shelf with a major grout line.
A shared shower may need storage at more than one level. Children, shorter adults and seated users may not reach a niche positioned only for the tallest person in the household.
Possible solutions include:
If the bathroom is intended for barrier-free use or aging in place, the niche must be coordinated with the seat, controls, handheld shower and grab bars. It should not obstruct required clearances or encourage a user to reach across the spray or an unsupported space.
General residential height suggestions should not be treated as accessibility requirements. Test the proposed location with the intended user and have applicable Ontario building and accessibility requirements confirmed by a qualified professional.
Confirm the following items before framing, waterproofing or stone fabrication proceeds:
Final design test: The niche should work in three views: from inside the shower, from the bathroom entrance and during actual use. Check all three before approving the framing location.
There is no single best size. The finished opening should fit the products being stored, remain comfortable to reach and work within the available wall structure. Compact stock formats can help with early planning, while custom niches should be sized from the required finished interior space.
Height should be selected for the actual users and measured from the finished shower floor. Mark the proposed opening on the wall and test the reach before construction. Seated use, children, grab bars and shower benches may require a different position than a typical standing-only layout.
The niche should provide enough finished depth to hold the intended containers securely. Available depth depends on framing, substrate, waterproofing, stone thickness and concealed services. The finished usable depth—not the rough wall cavity—should be approved.
Only after the wall assembly has been evaluated. Recessing a niche can reduce insulation space and interrupt air, vapour or thermal-control layers. In Ontario’s climate, an interior wall or properly designed furred wall may be preferable when the exterior assembly cannot accommodate the niche safely.
A vertical niche uses wall height efficiently and can be divided into different storage levels. A horizontal niche provides wider storage and a stronger architectural line but may require more complex framing. The best orientation depends on storage needs, wall structure and tile layout.
Alignment with major grout lines can improve the finished appearance and reduce awkward tile cuts. It should not reduce the niche to an impractical size. Base the layout on actual tile dimensions, grout width and finished wall measurements.
One large niche creates consolidated storage and a cleaner focal point. Two smaller niches can serve different users, separate product types and work around wall constraints more easily. Choose the option that provides the best combination of access, storage and framing compatibility.
No, unless it has been specifically engineered and approved for that purpose. A typical niche shelf is intended to support shower products, not a person’s body weight. Required grab bars should be installed independently in approved locations.
Planning the size and location before the wall is completed gives the contractor and stone fabricator more control over storage, shelf support, edge finishing and visual alignment. The result should fit the products, the users and the complete shower design—not only the available stud cavity.
Plan a Custom Stone Shower Niche
Explore custom stone shower boxes and coordinated stone details for recessed storage in modern bathroom projects.