Replacing tile with a stone slab backsplash involves more than changing the visible wall finish. Removing the existing tile can affect the drywall, adhesive layer, outlet depth, countertop joint and final position of the replacement panels.
In many renovation projects, the existing backsplash should be removed and the underlying wall assessed before final slab measurement. Measuring over tile that will later be demolished can produce inaccurate panel dimensions because wall repairs, adhesive removal and backing corrections may change the finished surface.
This guide explains how to plan a tile-to-slab backsplash renovation while protecting existing countertops and cabinets, coordinating electrical openings and preparing the wall for custom-fabricated panels. It focuses on professional renovation planning rather than providing demolition or installation instructions for do-it-yourself work.
Replacement Planning Principle
Do not fabricate replacement slab panels from dimensions taken over tile that will later be removed. Demolition and required wall corrections can change the wall position, outlet depth, countertop joint and final panel dimensions.

| Project Stage | Main Question | Typical Outcome |
|---|---|---|
| Existing-condition review | What is known about the tile, wall and retained kitchen elements? | Demolition and protection scope established |
| Tile removal | Can the finish be removed around countertops, cabinets and appliances? | Tile and necessary adhesive layers removed |
| Wall assessment | Is the substrate stable, sufficiently flat and suitable for the panel system? | Repair or backing requirements identified |
| Trade coordination | Are outlets, fixtures, appliances and cabinet conditions finalized? | Final wall openings confirmed |
| Final measurement | What are the completed wall dimensions? | Verified fabrication measurements recorded |
| Fabrication and installation | How should the wall be divided into panels? | Approved slab layout fabricated and installed |
The exact project sequence can vary, but fabrication should not begin until the wall condition and final openings are sufficiently established.
Installing a slab backsplash over existing tile may be considered in some projects, but it should not be treated as the default approach. The tile, substrate, added thickness and selected panel system require project-specific assessment.
The existing tile must be secure and supported by a suitable wall assembly. Loose, cracked or hollow areas can indicate conditions that should be corrected rather than concealed behind a new panel.
Large slab panels require an appropriate wall surface. Uneven tile, projecting grout lines, irregular edges or changes in wall depth can affect panel contact, seams and transitions.
An apparently flat tiled surface should not be approved from visual inspection alone when the proposed panel system has specific substrate requirements.
Installing a slab over tile increases the total wall thickness. This can affect:
The added panel thickness may project beyond the rear countertop edge, cabinet ends or existing wall finishes. The resulting transitions should be reviewed before an overlay system is approved.
The selected slab, backing condition and installation system must be compatible with the existing surface. A method accepted for one porcelain panel should not automatically be transferred to natural stone, quartz or another product.
Overlay may be unsuitable when the existing backsplash has:
The decision should be made after reviewing the complete assembly, not only the visible tile.
Removing the existing backsplash generally provides a clearer basis for wall evaluation, repair and final measurement. It allows the project team to see the actual substrate rather than relying on assumptions about concealed conditions.
Tile removal can reveal the condition of drywall, cementitious backing, previous repairs, adhesive and electrical boxes. These conditions may affect whether the wall is ready for a fabricated slab panel.
Removing the tile and excessive adhesive can reduce uncertainty about the final wall depth. This is important where the backsplash meets countertops, cabinet ends, window trim or adjacent painted walls.
Final slab dimensions should reflect the completed wall. Measuring after demolition and required repairs reduces the risk that the wall position will change after the panels are already fabricated.
Once the existing finish is removed, outlet depth, box condition and fixture locations can be reviewed before the slab cutouts are finalized.
Demolition may expose wall damage or irregularities that could not be confirmed beforehand. These conditions are not present in every project, but they should be resolved before fabrication proceeds.
Tile removal takes place close to finished countertops, cabinet panels, range hoods and appliances. The demolition and protection scope should be defined before work begins.
The countertop surface, rear edge and backsplash joint should be protected from impact, falling debris and abrasive material. Protection methods should suit the exact countertop rather than applying one approach to every stone, quartz or porcelain surface.
The condition of the countertop should be documented before demolition, particularly around:
Upper cabinets, finished side panels, under-cabinet lighting and range hoods may sit directly beside the tile scheduled for removal. Their edges and hardware should be protected from tools, debris and unplanned movement.
The existing joint between the countertop and tile may contain grout, sealant or another finishing material. Removing it can expose irregular gaps or damage at the drywall edge.
Damage-free demolition should not be guaranteed without assessing the existing construction. The project scope should explain how minor wall damage and unexpected conditions will be addressed.
Ranges, sinks, faucets, pot fillers and nearby appliances may need protection, temporary relocation or trade coordination. Gas, electrical and plumbing disconnection are separate responsibilities unless specifically included in the project scope.
The condition behind an existing backsplash cannot always be confirmed before demolition. Some walls require only limited cleaning and repair, while others may contain irregular backing, damaged wallboard or electrical conditions that affect the replacement scope.
Tile adhesive may remain attached to the wall after the visible finish is removed. Its thickness and adhesion can create an uneven surface that is unsuitable for final slab measurement.
The wall should be evaluated after the necessary residue is removed or corrected. Fabrication dimensions should not be based on an adhesive layer that will later change.
Removing tile can tear the paper face of drywall or expose weakened sections. The extent of damage depends on the original installation, adhesive and demolition conditions.
Minor surface damage and larger backing repairs should be distinguished before the wall is approved for measurement.
Older kitchens may contain patched areas, different wall materials or previous fixture openings. These conditions can create changes in wall depth and alignment that were concealed by the tile.
Movement, loose wallboard or unsupported areas should be corrected before a large fabricated panel is installed. A slab backsplash should not be used to conceal an unstable wall condition.
Discolouration, softened wall material or deterioration near sinks and plumbing fixtures may require further assessment. The source of ongoing moisture should be addressed before the wall is covered again.
Tile removal may reveal boxes that are recessed, loose, damaged or positioned differently from the visible device covers. Their final locations and depth should be resolved before slab cutouts are fabricated.
Renovation Reality: Hidden wall damage is possible but not guaranteed. The replacement scope should allow the exposed wall to be assessed before final measurement and fabrication.
After the existing tile is removed, the wall should be prepared for the exact slab material and installation system. The objective is to establish a stable, suitable and sufficiently aligned surface before final dimensions are recorded.
Adhesive ridges and high points can affect panel contact and finished alignment. The preparation method should reflect the existing wall and proposed system rather than relying on a universal removal procedure.
Torn facing, holes, loose sections and previous openings may require patching or replacement. Extensive wallboard repair should be identified as a separate scope if it is not included in the stone work.
Large panels do not adapt easily to pronounced bows or abrupt changes in wall depth.
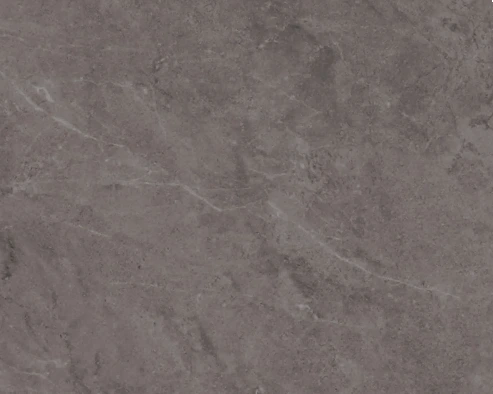


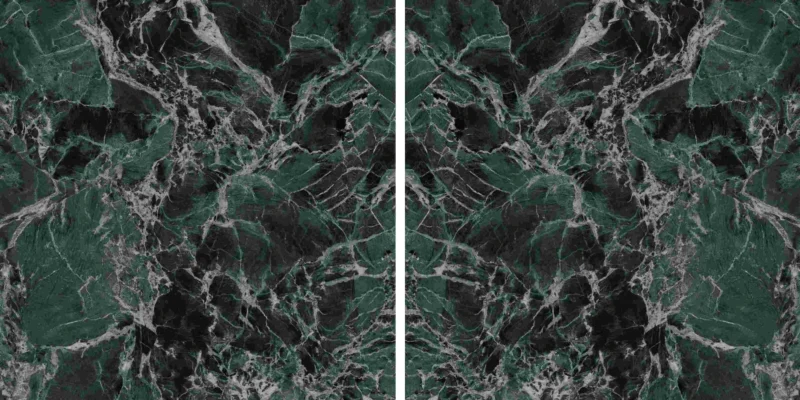
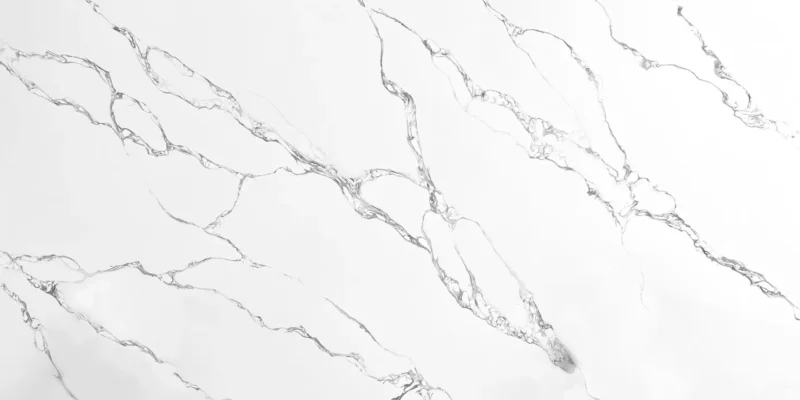
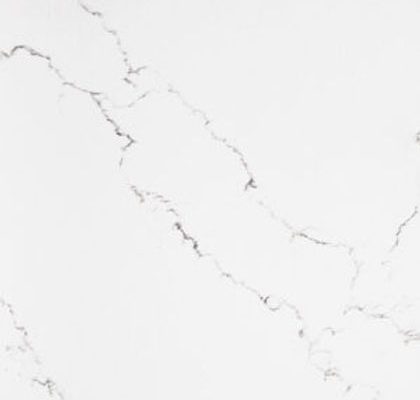


No single numerical tolerance should be applied to every slab product. The required wall condition depends on the selected material and approved installation system.
The exposed wall assembly should be reviewed for stability and compatibility with the proposed backsplash panel. Drywall, cementitious backing or another approved substrate may be appropriate depending on the project.
Inside corners, window jambs and open-wall returns should be assessed after demolition because tile thickness may previously have concealed irregular transitions.
The finished details should be established before panel sizes and exposed edges are approved.
Tile and slab panels may have different finished thicknesses. Changing the wall finish can therefore affect electrical boxes, device covers and the relationship between openings and the completed wall face.
Electrical boxes should align with the intended finished wall condition. Boxes that are too recessed, projected or unstable may require correction by the appropriate electrical trade.
Slab openings are fabricated according to verified positions. Relocating an outlet or switch after fabrication may leave an unusable cutout or require panel replacement.
Closely spaced outlets, switches and controls can leave narrow sections of material between cutouts or panel edges. The fabricator should review these conditions before the layout is approved.
The stone scope may include creating openings for approved devices. It does not automatically include:
Existing countertops can often remain in place during a backsplash replacement, provided their condition, level and relationship with the rear wall are suitable for the new panels.
The retained countertop establishes the lower boundary of the slab backsplash. Its finished level, rear edge and relationship with side walls should be recorded after tile removal and wall preparation.
Removing tile may expose uneven gaps between the countertop and wall. These conditions should be reviewed before fabrication rather than assuming the lower panel edge can follow a perfectly straight line.
An exact match may not be possible when the original slab, quartz collection or porcelain product is discontinued or unavailable.
A coordinated material may produce a better result than forcing a close but visibly inconsistent match. Colour, undertone, pattern scale and finish should be considered together.
Design options for retained countertops are discussed in the guide to coordinate countertops and backsplashes.
Some countertops include a short stone upstand. The renovation should establish whether it will remain, be removed or be incorporated beneath the new wall panels.
Removal may not always be possible without affecting the countertop or rear joint. The detail should be assessed before the replacement layout is finalized.
A replacement behind a cooking appliance requires more than reproducing the dimensions of the existing tile field. The exact range or cooktop, backguard, hood and wall requirements should be reviewed before the slab is selected or measured.
Freestanding, slide-in and professional ranges expose different portions of the wall. A change in appliance type can alter the visible backsplash height and lower panel detail.
The replacement slab should not be approved from the generic material name alone. Appliance instructions, surface-product guidance and the complete wall assembly determine the final application.
A thicker replacement system may affect appliance fit, rear ventilation, backguard position or countertop clearances. These conditions should be resolved before measurement.
Fixtures and electrical devices should be in their final positions before slab fabrication. Existing tile cutouts cannot automatically be reused as fabrication references.
Project-specific considerations are covered in the guide to planning a stone backsplash behind a range or cooktop.
Replacing tile creates an opportunity to change the backsplash height and wall coverage. The new slab does not need to follow the exact boundaries of the previous tile.
This option replaces the existing working-area tile while retaining the upper cabinets as a natural stopping point.
A slab can be limited to the range wall while tile, paint or another finish remains elsewhere. The feature should align with the appliance, hood or cabinet bay.
Extending the replacement panel upward can create a stronger focal wall, but it may require more material, larger panels and additional coordination around the hood and fixtures.
Some existing tile may remain if the retained and new materials can meet at a deliberate boundary. The transition should be reviewed for thickness, alignment and visual compatibility.
Height, pattern and wall-composition options are covered in the full-height backsplash design guide.
A replacement project should move from existing-condition assessment to demolition, wall correction and final measurement. Fabricating the slab too early increases the risk that the completed wall will not match the recorded dimensions.
For detailed measurement, fabrication and installation planning, review the stone slab backsplash installation process.
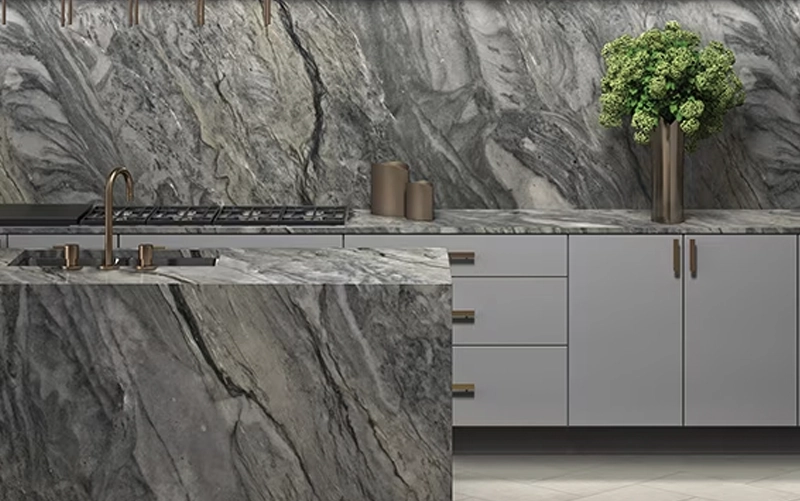
The complete replacement cost depends on more than the visible wall area or slab price. Existing conditions and renovation work can materially affect the project scope.
Tile removal may include protection, debris handling and disposal. The effort required can vary according to tile adhesion, wall access and the need to work around retained finishes.
Adhesive residue, torn drywall, unstable backing or uneven wall conditions may require correction before measurement. Wall repair should be identified separately when it is not included in the stone scope.
Outlet boxes, switches, pot fillers and valves may require adjustment after the previous wall finish is removed. These services should be assigned to the appropriate trades.
Project cost can be affected by:
Outlets, switches, hood penetrations, pot fillers and narrow material sections can increase fabrication requirements. The number and position of openings may be as important as the total wall area.
A renovation may require separate visits for initial assessment, post-demolition review, final measurement and installation. These stages should not be assumed to be included automatically.
A detailed pricing framework belongs in the stone slab backsplash cost guide.
Scope Check: Before ordering or fabricating the slab, confirm who is responsible for tile removal, disposal, wall repair, countertop protection, electrical adjustments, plumbing work, measurement and installation.
It may be considered in some projects, but only after the tile adhesion, wall flatness, added thickness, electrical boxes, appliance clearances and selected panel system are assessed. Overlay should not be treated as the default solution.
In many replacement projects, yes. Demolition and wall correction can change the finished wall position, so final slab measurements should normally reflect the completed substrate conditions.
Tile removal can tear drywall facing or expose weakened sections, but the extent cannot always be predicted in advance. The project should allow the wall to be assessed and repaired after demolition.
Often they can, provided they are stable and suitable for the new backsplash detail. Their rear edge, level, joints and condition should be documented and protected during demolition.
Yes, a range-only feature panel may be possible when its boundaries align logically with the hood, cabinets or appliance bay. The range model, wall requirements and material dimensions should be confirmed first.
Major factors include demolition, disposal, wall repair, electrical or plumbing adjustments, slab quantity, panel height, cutouts, exposed edges, access and the number of required site visits.
A successful replacement begins by assessing the existing kitchen rather than fabricating panels from the dimensions of the current tile. The concealed wall, retained countertop, outlet depth, appliance conditions and final slab boundaries should be established before measurement.
Removing the tile can reveal additional work, but it also creates an opportunity to correct the wall and build the replacement backsplash around verified conditions.